A Tale of two QCXs

As you may know, I am a Ham Radio operator and that, among other aspects of the hobby, of which there are many, I do two things. I operate QRP (low-power) operation, mostly CW (Morse code) and I like to build electronic kits.

QCX twins

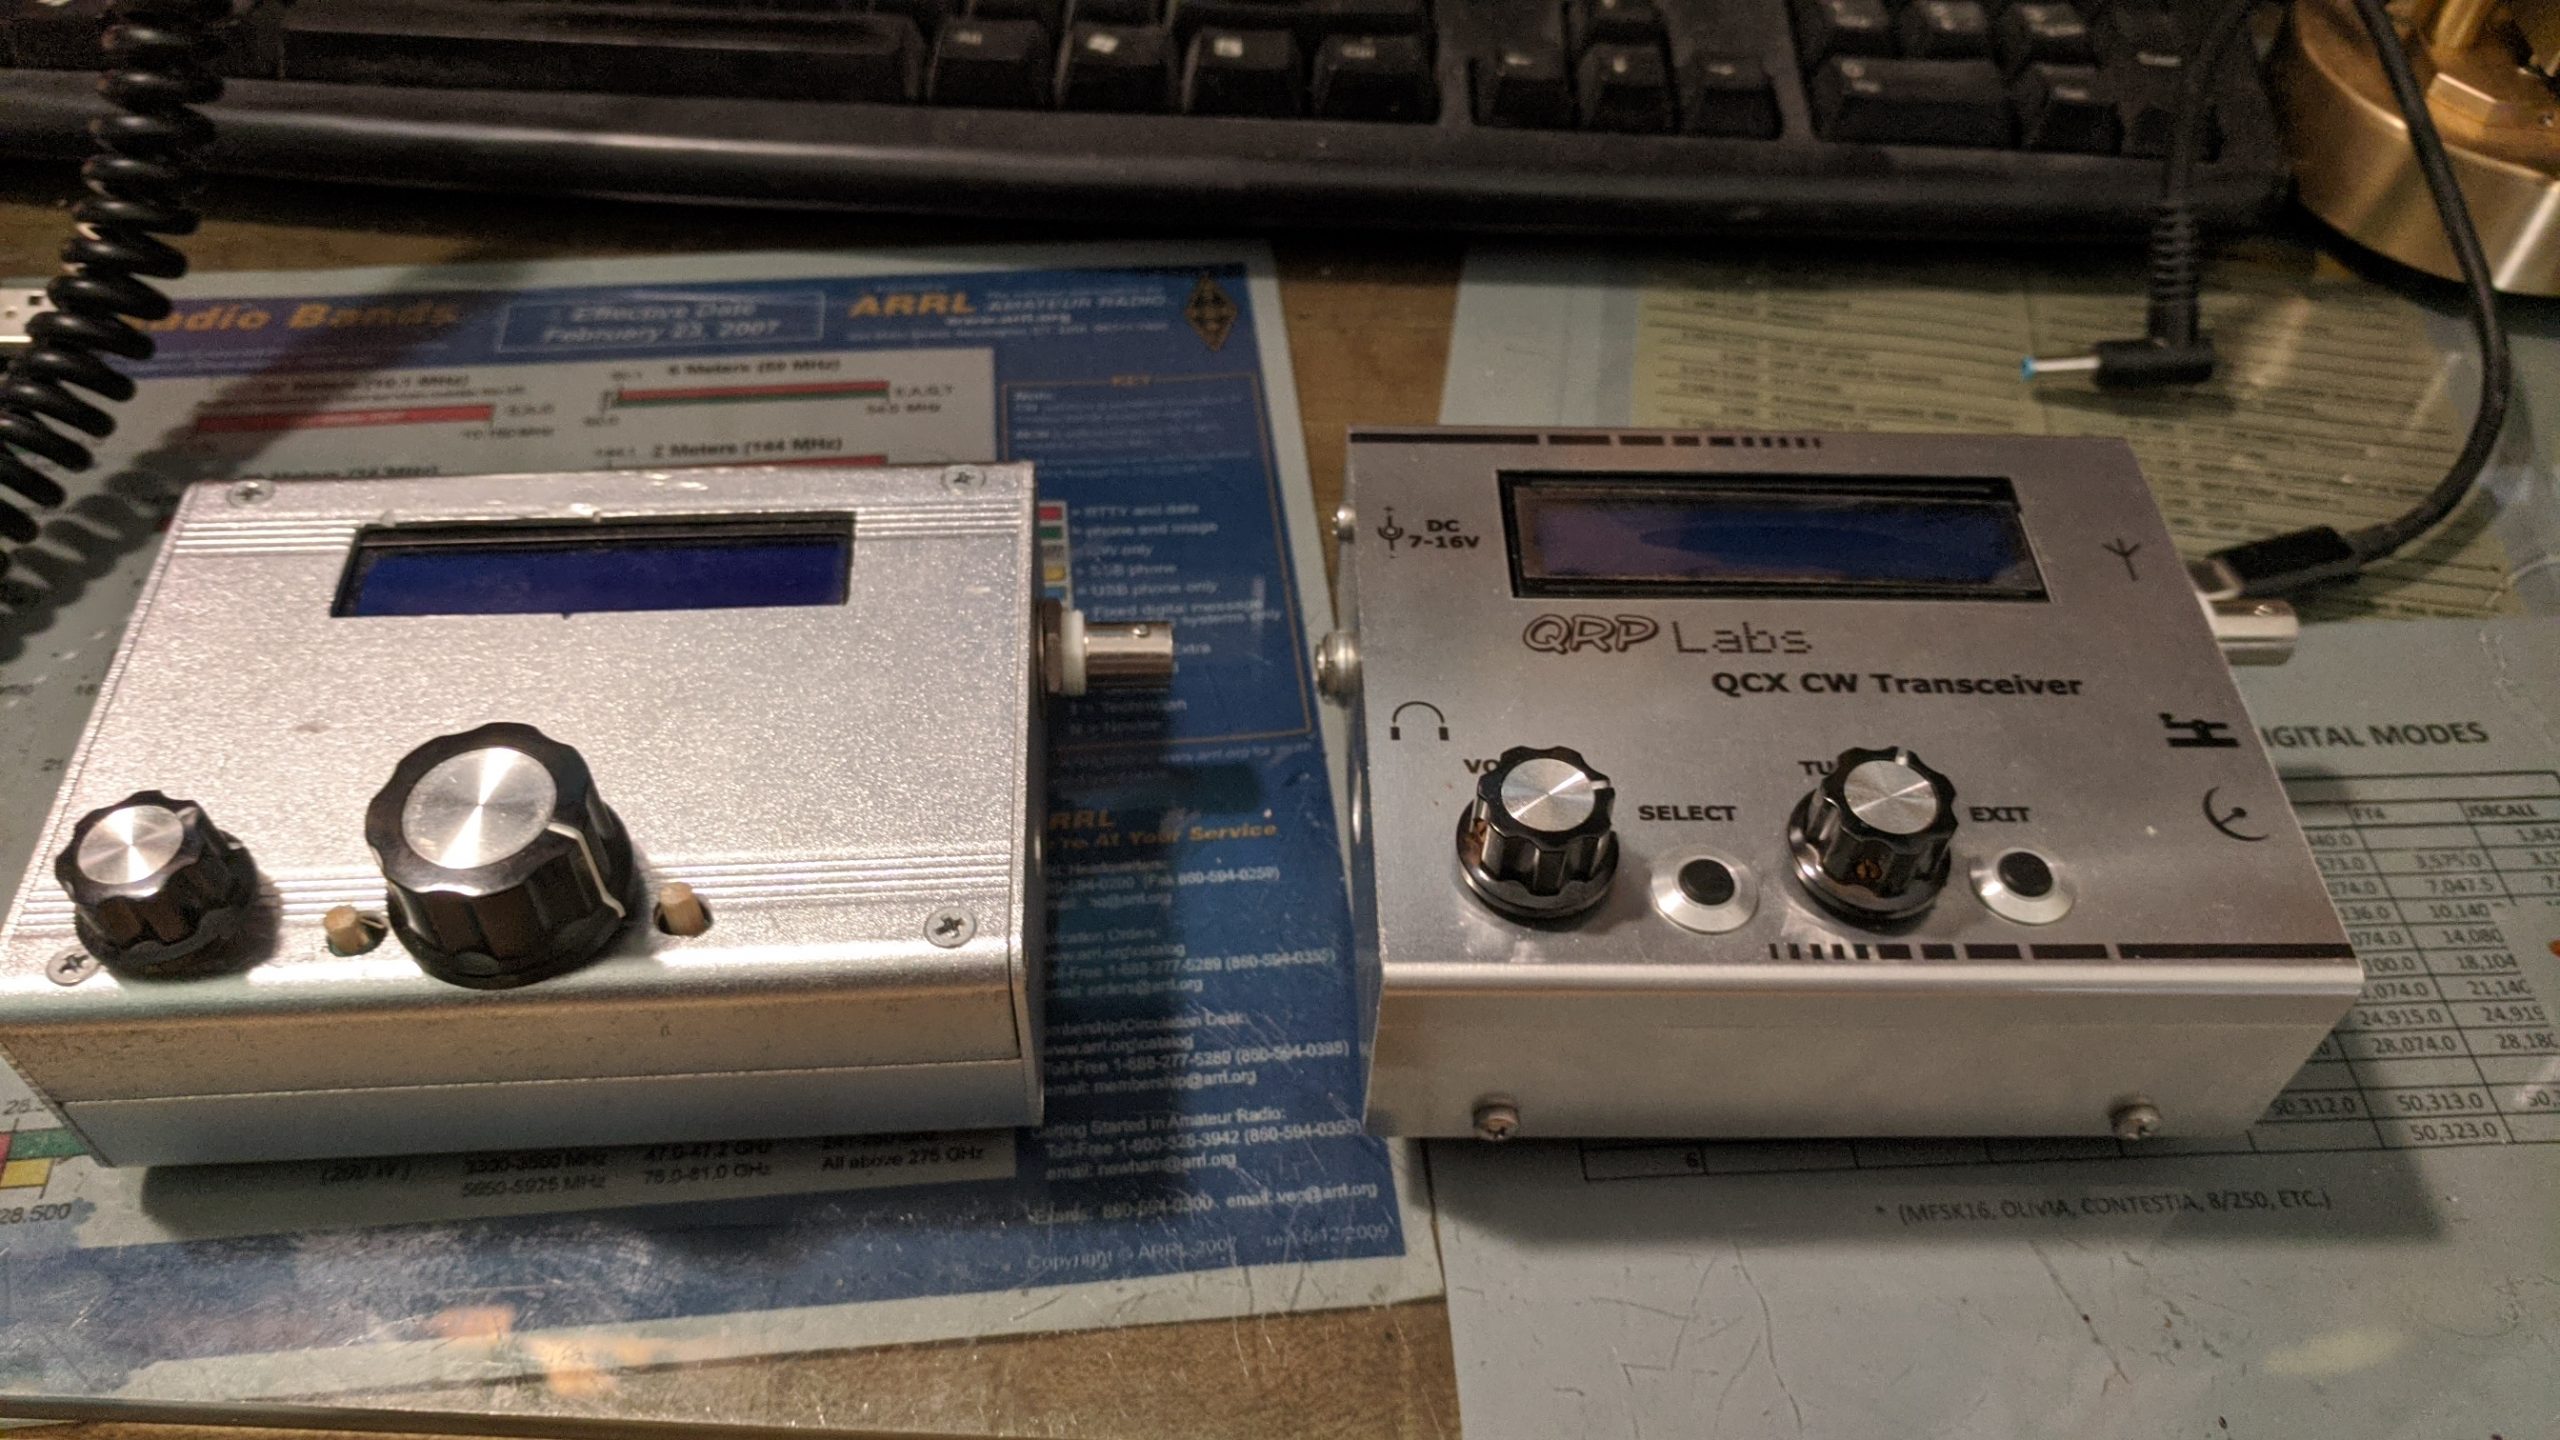
Ugly on the left. Beauty on the right.

Sometimes those things cross over.

A while ago, probably more than a year, I became aware of a neat little QRP radio kit called the QCX. It was offered for sale by a German Ham, living in Turkey, for only $50. It was a single-band, 5 watt CW radio that was pocket-sized. Slightly bigger than a pack of Canadian cigarettes.

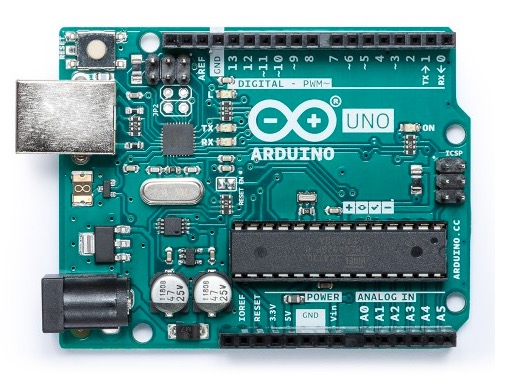
There have been many small, inexpensive QRP radios before. I have a few. But this one was built around the little microprocessor chip found in the Arduino boards. It had a display, and the chip allowed it to do a lot of neat things that usually took place in outboard boards. For $50 buck, I had to try one.

So I did and I wrote about it before, so I won’t get into it too much. Once it was done, it needed to be put into an enclosure. So I decided to fit it into one. I got an extruded aluminum box that seemed to be the right size to do justice to the small size of the radio and I started doing what needed to make it fit inside.

Let me tell you, it might be aluminum, but extruded aluminum is tough. Tough to work on. drilling holes wasn’t too bad, but cutting big openings for the display was hard. Then there was the challenge of making the controls work. The push buttons were tiny and needed some kind of extension to reach out of the case. The two knobs – one encoder and one potentiometer, were at different lengths as well. I had to fabricate extensions for all those with my limited machine shop. (Hand tools.)

When it was done, and working, it was crude, but did the job. I built it for 40 meters. Naturally, I wanted another, so I bought on and built it for 20 meters. This time though, I bought the matching case from another company that made them for Hans.

It took a while to arrive, but came after I had completed building the second kit. It looked fantastic. I was happy that I spent the extra money rather than struggle with making my own case.

Fast forward a year. Hans, being ever busy and industrious, improved his radio and replaced the QCX with a new model called the QCX+. He also came out with a even more compact version called the QCX-mini. The plus is bigger and easier to build. The mini is smaller, comes with many surface mount components pre-installed and to make it smaller, he came up with a scheme of nesting circuit boards that increased the density while still being easy to build.

The writing on the wall, though, was the the company that sold the cases probably would not sell them forever. I decided to order one and put my original kit in a proper case to match the second one.

I ordered it in November. Then COVID hit and disrupted the world’s shipping. The first one was slow to arrive, but not unreasonably so. I patiently waited for it, but I began to fear it had gotten lost. They were shipped without tracking to save cost, so there was no way to tell. I emailed the maker, Markus, but received no reply. I imagine he got so many inquiries that he stopped responding.

So, I gave up on it. I actually went ahead and ordered two of the QCX-minis with matching cases and planned to build one of them to replace the 40 meter QCX. But they won’t be available for a while.

Then, out of the blue, the case arrived today. Hallelujah! Heere’s some photos of the transformation from my ugly box to a beautiful QCX that matches my 20 meter version.

Out of the old case. Seeing if it fits the new one.

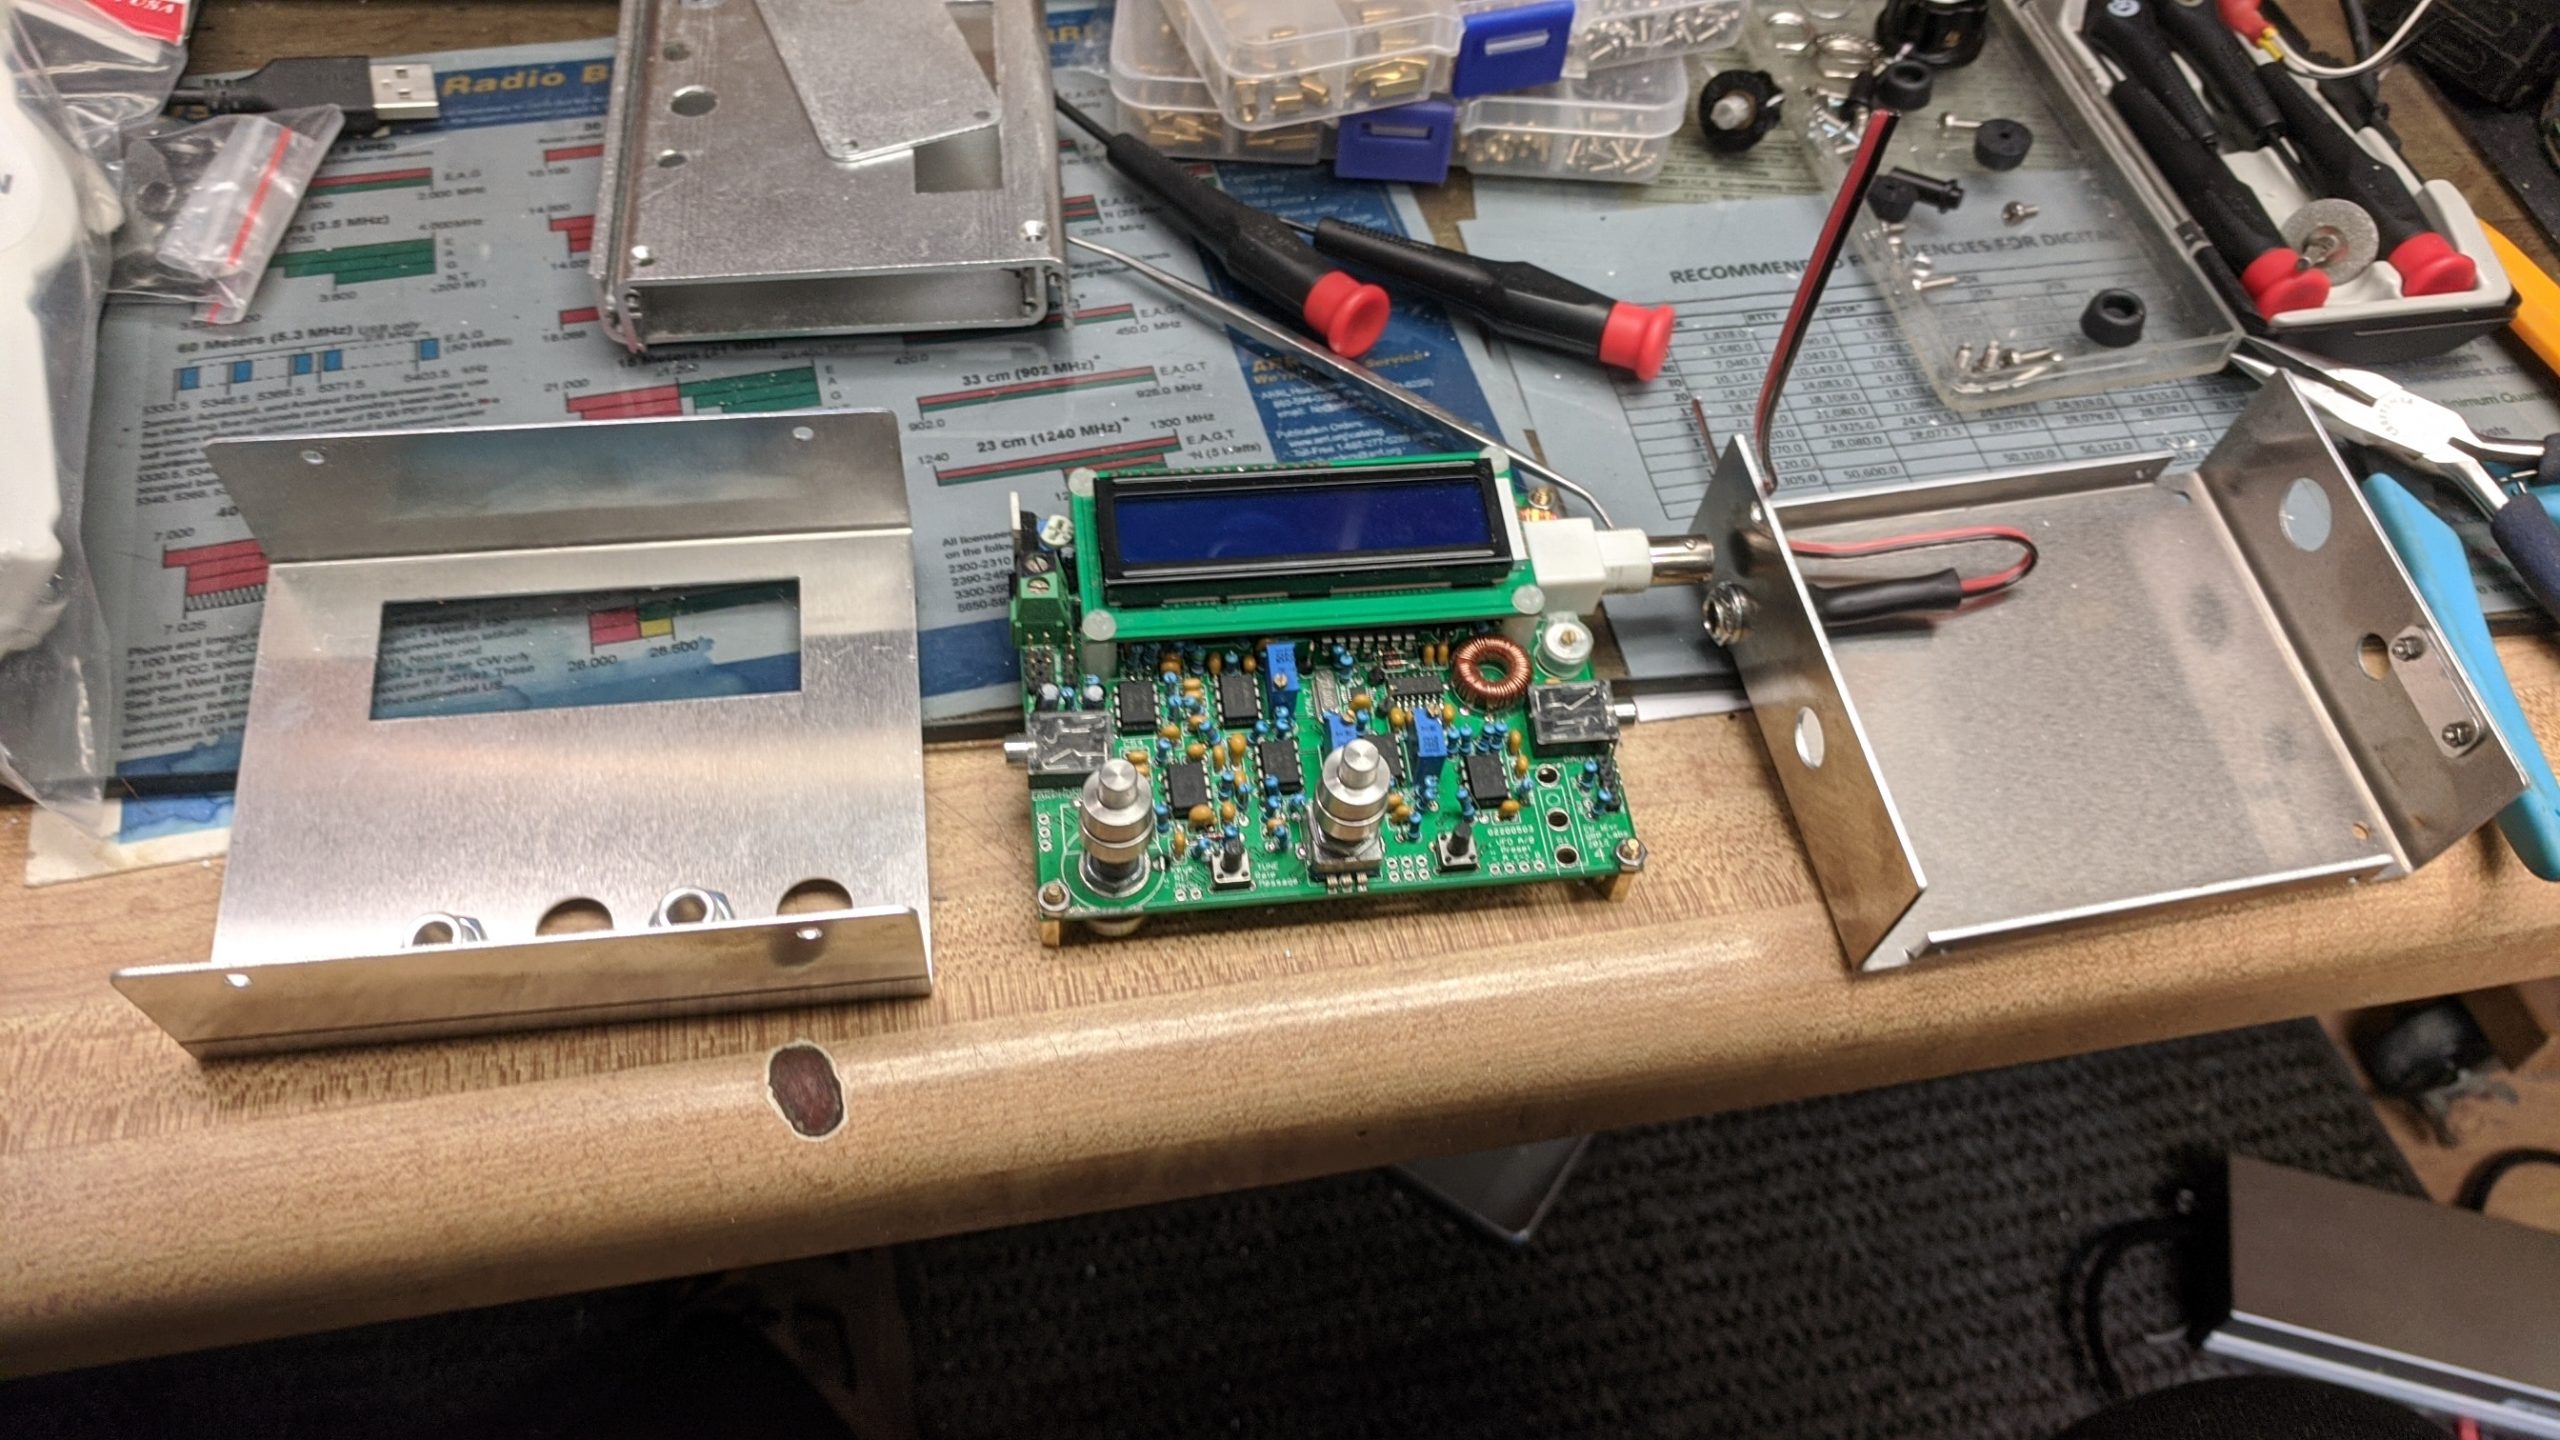
Front. Board. Rear. Almost ready.

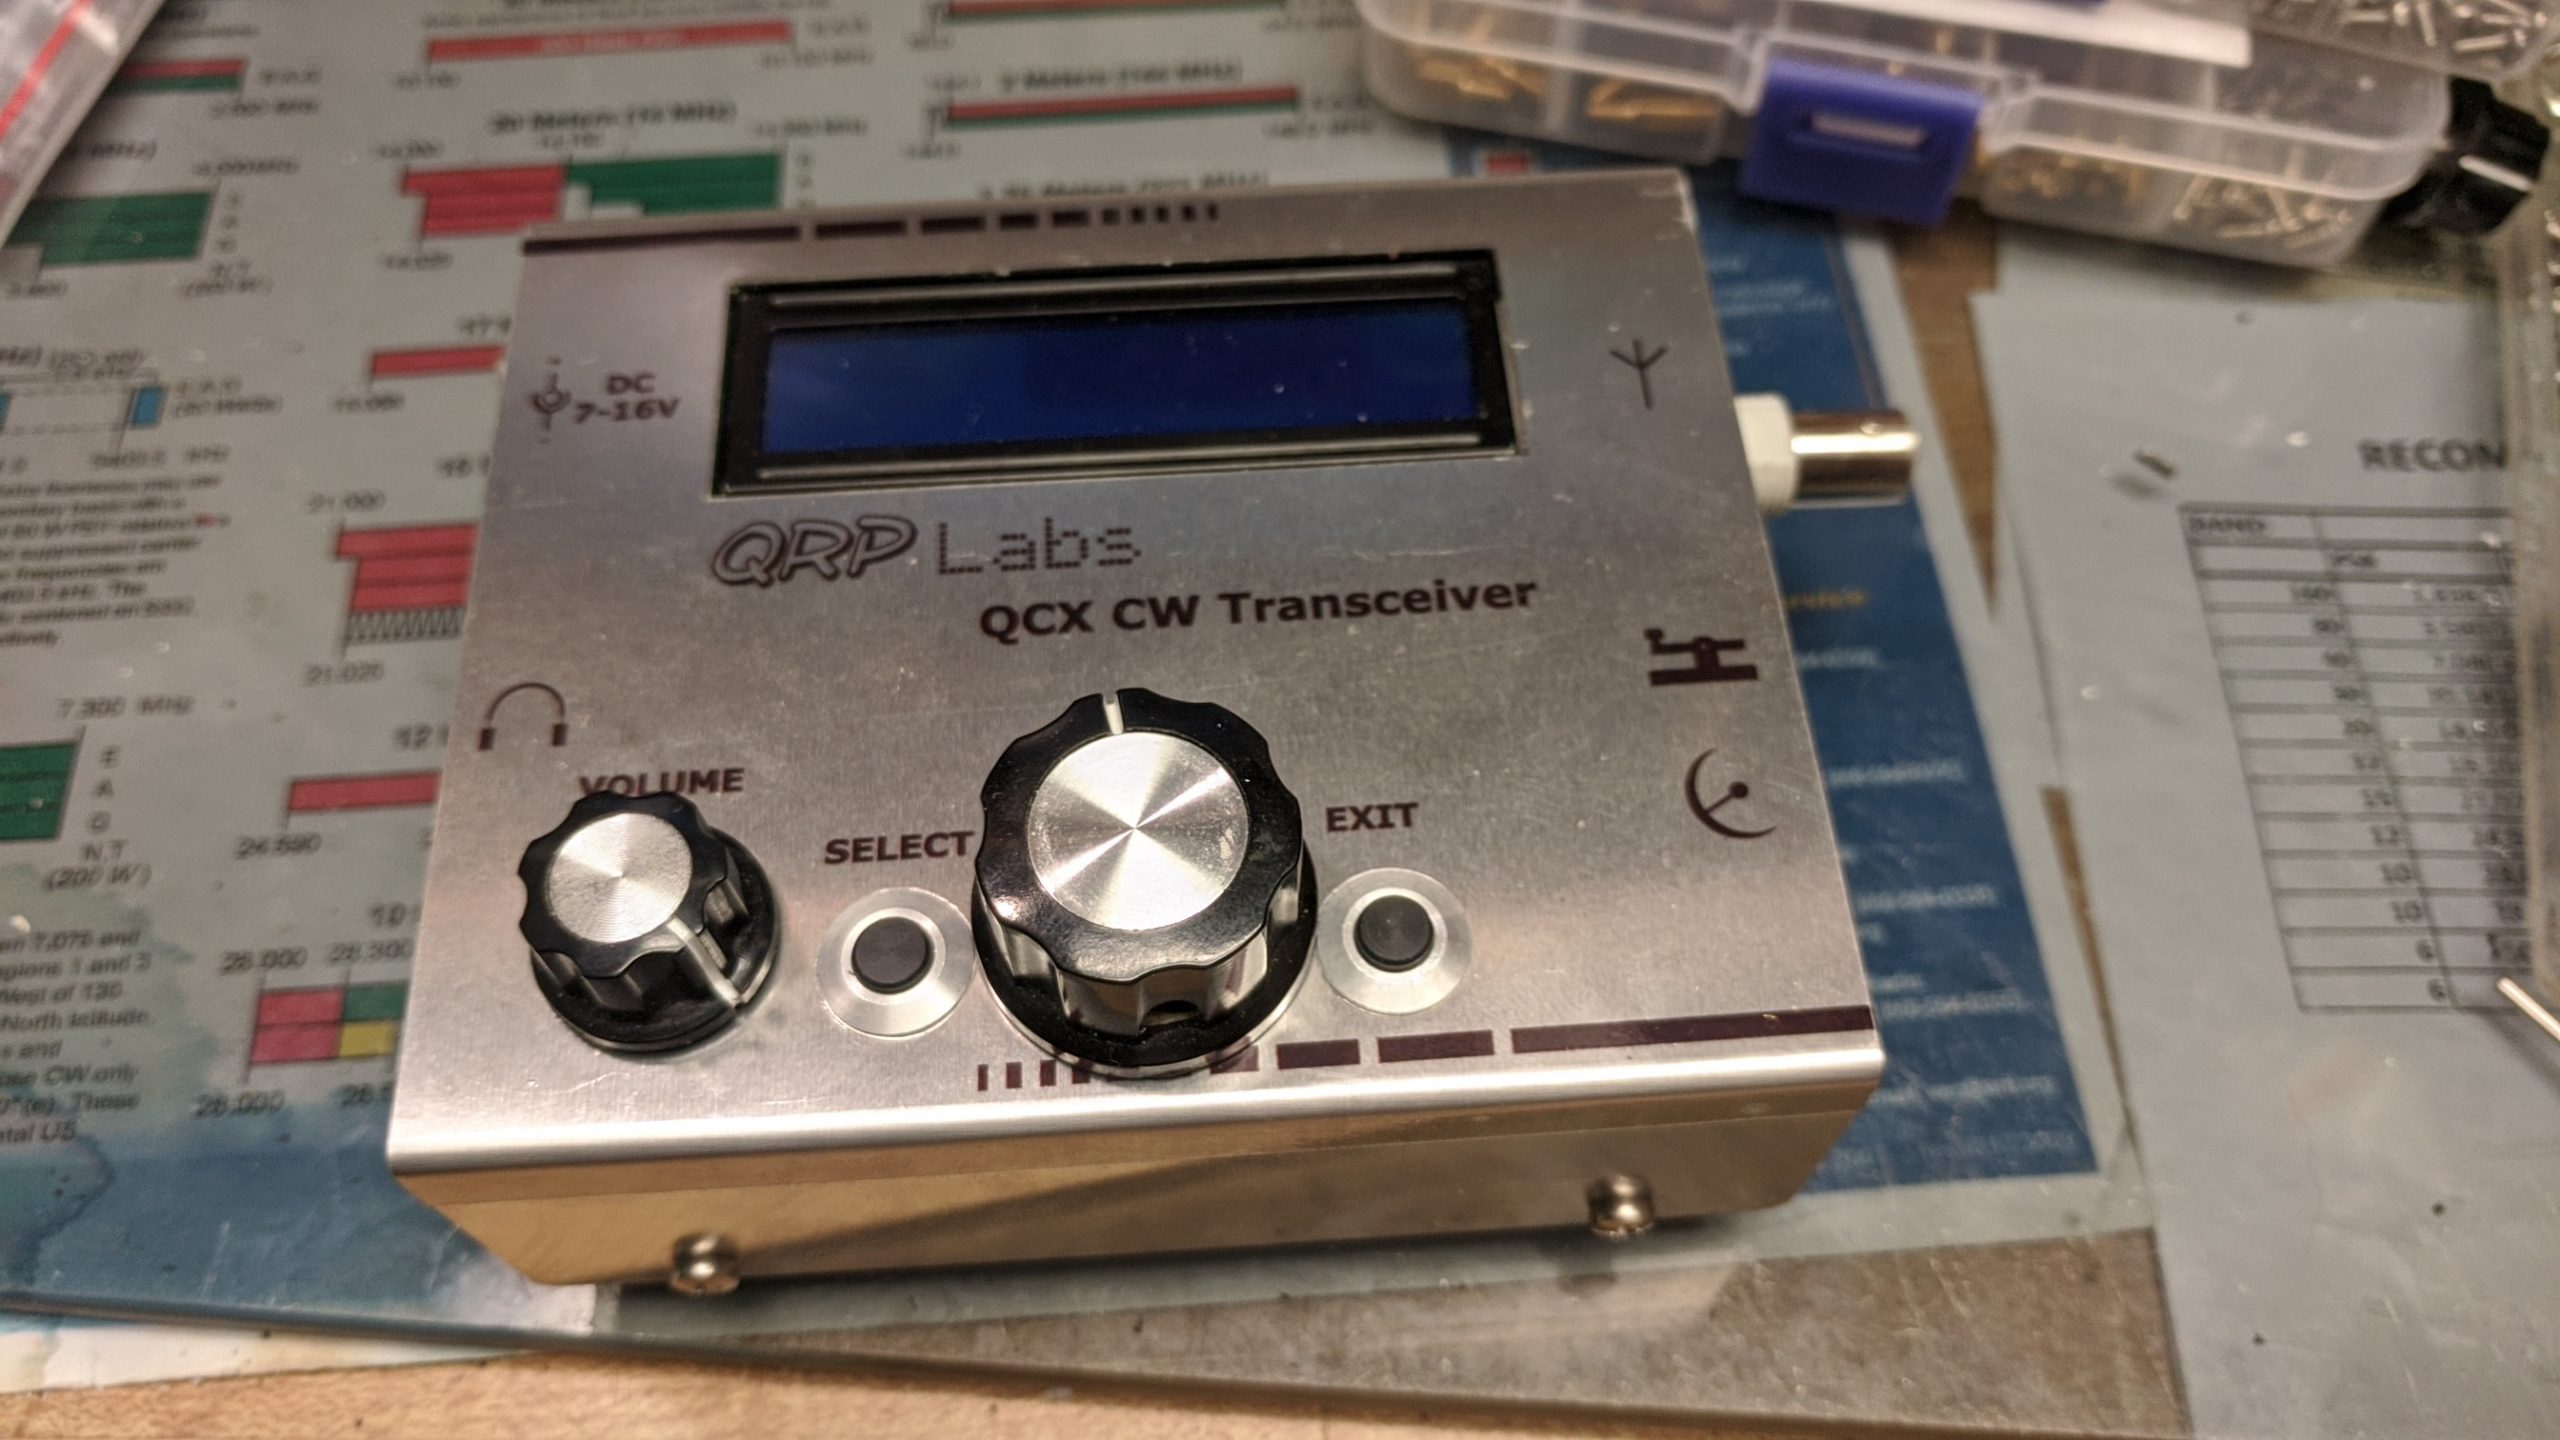
All done! I decided to keep the oversized knob I added. Maybe I’ll get one for the 20m version.

Almost twins!

Quite possibly the best keyer ever.

Over the years, the quest for a good morse code keyer has been on the mind of many Hams. I remember the first keyer I ever saw at a friends shack while I was still in high school. It was the latest thing with “Iambic” or squeeze keying. He demonstrated using his Brown Brothers paddles how it would alternate making dits and dahs when both paddles were held. It was homebuilt using RTL logic.

Over the years improvements came along. Memories that could store canned messages. Weight and beacon settings. Serial numbers that auto-incremented for contesting. Back before computer logging took over, a good contest keyer was a necessity.

MFJ Grandmaster “contest” keyer

Then contest logging software took over the CW sending and the keyer was on the back shelf for use in casual QSOs or when the logging computer crashed. But eventually, computers got too complicated and too fast and busy doing other things to send decent CW without it getting choppy. Of course, we were demanding more out of the logging computer – controlling two radios, sending/receiving spots over the network, etc.

So along comes K1EL and his Winkeyer. It took all the timing issues away from the main computer and let a little PIC chip handle them. It worked like a charm and became the standard for most contesters. And you could plug a paddle into it and use it as a simple keyer too! I have one and love it.

K1EL WinKeyer

But Hams being Hams, never sit still and other choices came along. Of course, not everyone cared about contesting or they needed a keyer that had other features. A number of people published keyers that used small microcontrollers. The Microchip PIC chips were popular and a number of Hams created keyers using them. The Embedded Research Tick keyers brought them down to a single chip you could embed into your homebrew rig or build into a case. I built one the size of a keyfob for your car.

But eventually, people discovered the Arduino and how easy they were to program. I’m sure many programs were out there and I’ve played with a couple, but the one that has come to the forefront was written by Goody, K3NG. I’m not sure when it was first released, but by now it is quite mature and has an extensive feature list, including incorporating the K1EL Winkeyer2 functionality. It continues to be updated on a regular basis today. You can read about it at https://blog.radioartisan.com/arduino-cw-keyer/

I don’t even remember where I first heard about it, but I know I had played around putting the code into an Uno and making all the connections on a breadboard. But I really got into it when I saw the DJ0MY kit that lets you put it on an Arduino Nano. The Nano is a small Arduino board about the size of a large postage stamp. I had been using Nanos and Minis for some other projects, so I knew what it could do. I ordered the kit from Germany and when it came, I built it. The program gave many options and I had a blast changing things and trying them out.

DJ0MY NanoKeyer

So, it makes a fantastic keyer. I can’t list all the things it can do here because it is too long of a list. Read the link above if you want. But the problem was, there was so many features that they can’t all fit in the limited space in the Nano’s memory. The way Goody wrote the code allows you to turn on or off sections of the code when it gets compiled. You pick and choose the features that you really want and if they fit, you’re golden. If it doesn’t, you have to give something up.

But the code will run on any Arduino. What if there was one that had more program space and could accommodate more features? Well, there is. The Arduino family tree is pretty big, even just the official branches. One stood out as perfect for making the ultimate version of the K3NG keyer. It was the Arduino Mega 2560. It offered more than eight times the program space as well as double the number of I/O pins. The only drawback was it was twice the size of the Uno and completely dwarfs the Nano.

Nonetheless, people started talking about making a PC board, or shield, to make the Mega into a keyer. It was a great idea and some people homebrewed them.

Then someone said “What about these Mega 2560 Mini boards we see on EBay?”

Mega 2560 Pro Mini

Arduino Mega 2560 Pro Mini

Someone had taken the same chip as used in the Arduino Mega 2560 and put it on a much smaller board. All the I/O pins were there, and since it is the same chip, the memory size is the same. It just no longer fits the shield layout that the Uno and Mega share. It ends up being wider than the Nano but not much longer. It’s not official Arduino, but is comaptible with the software. Since the whole Arduino project is open source, they encourage others to develop them. Official, full sized MEGA 2560s are in the $35 range, with imported clones being about $15. The Mega 2560 Pro Mini is under $10 direct from the manufacturer. There are also other similar Mega 2560 reduced size boards out there, but the layout differs slightly.

It was such a good idea, that two groups are developing projects around it simultaneously. K5BCG on the Radioartisan groups.io boards are making a board available. This is the support group for the K3NG keyer code.

At the same time, the CalQRP group (also on groups.io) is making and selling very similar boards. There are differences between the two projects, mostly in displays and interfaces. But both run the K3NG Keyer code and should allow a much more complete set of features to be incorporated at once.

Both projects have published the PCB CAD files, schematics, and full BOMs to make it easy to reproduce.

I was considering picking up a proto shield for the Mega2560 (full size) and building the keyer circuits on it. It would be a feasible project. I have a couple of the Mega boards on hand. But I heard about the Mega-Mini sized boards and decided to wait. I’m glad I did. I’ll end up building one of the above projects for sure.

Revisiting my childhood

Yeah, so? First riding bicycles, now what?

Well, I’ve gone back to my electronics roots and have recreated a crystal radio that was my first electronics project back in about fifth or sixth grade.

Crystal set

Finished set. Click to enlarge.

Back in my early teen years, I was a fierce reader. I spent many hours in the Children’s and Young Adult sections of the Lockport Library. I made at least one trip a week during summer vacation bringing back an armfull of books each time.

I read all sorts of things, including science fiction, but that’s another story. The library had a small section of books on technology aimed at young people. In it I discovered a series of books by Alfred Powell Morgan and made my way through some of them. Continue Reading…

|
Skip to toolbar