A project using off-the shelf modules to build an all-in-one
Ham Radio interface for digital modes and contesting.
This article is a work in progress. I will continue to update this while it progresses. Photos will be added eventually.?
Parts:
The Plan
I have been thinking about putting together an all-in-one
interface box to use with a laptop and my K2 for digital sound card modes as
well as some QRP contesting. Looking at the available offerings everything I
saw either didn’t do something I wanted, was too expensive, or was too complex
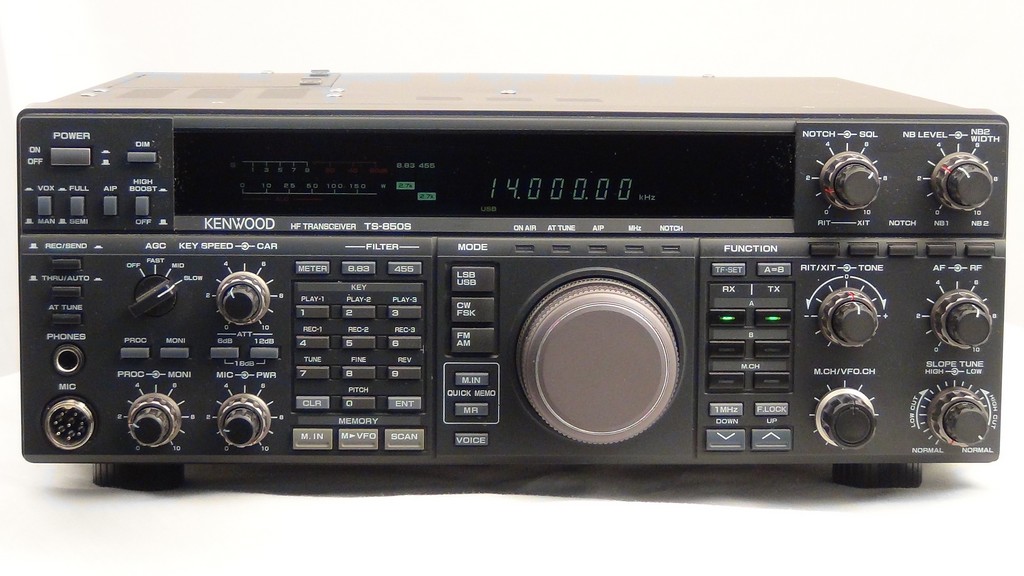
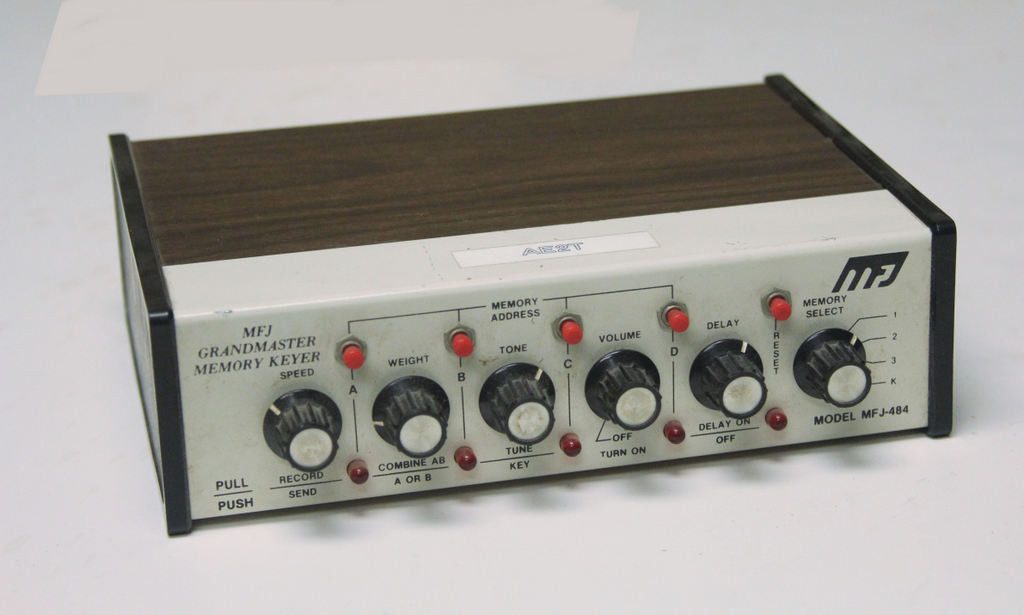
– doing many things I didn’t need. I have an old Rigblaster, but it’s not a USB
version, so I’d need another USB-serial adapter to use it. Everything just
added multiple wires and connections to deal with.
So I started thinking about doing it myself. Rig interface, I already had. With
the K2 it’s simple. Just a USB-Serial adapter with a short cable that I built a
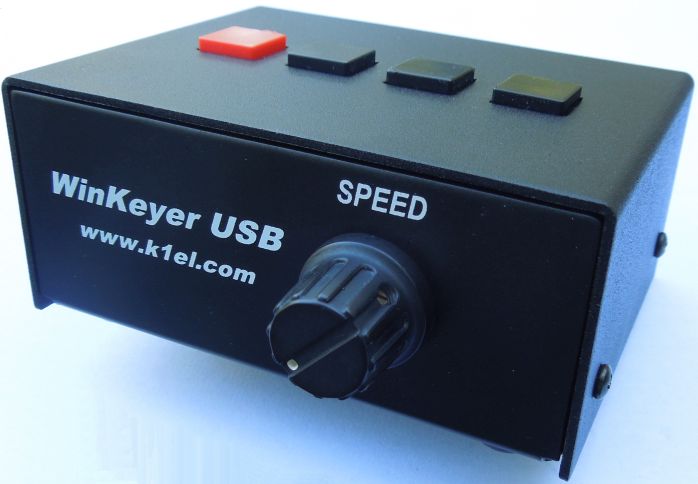
keying interface into. But I still wanted a Winkeyer for contest CW. I have a
Winkey USB, as well as a K3NG Nanokeyer which both do the job well. I had USB
sound cards, but not the interface circuits between them and the radio. So I
would need to build that up.
So what do I end up with? Rig interface for frequency
control – 1 USB port. Contest keyer – 2 USB ports. Sound card interface – 3 USB
ports and an interface box. Lots of cables. Three USB ports would nearly fill
my laptop. If I use my Surface Pro, it would require a hub. Another box and
wires.
I decided some consolidation would simplify things greatly
for portable operation, so the idea of combining all the above into one package
was born. I could take inexpensive modules out of their packages and combine
them into one complete station interface. That’s the premise of this project
and this document is the beginning of it.
Some software is able to use one audio channel to put a
pilot tone out that is used to control the radio PTT. Others use DTR or RTS
lines. Most contest logging software uses the control lines as well. Some
people are using a delay circuit to hold the PTT in. The Winkeyer handles this
on its own. I am not sure how I will end up doing the PTT, I may use a
combination of these.
The goal of this is to simplify the wiring needed to use
digital modes between my K2 and a laptop. Ideally, I want to end up with one
USB cable from the laptop to the interface, and one cable and connector from
the interface to the K2. The last cable might have multiple plugs that fan out
to the rig, but I want the bulk to be one cable and plug into the interface.
I’m still considering whether I want to install a dedicated plug at the K2 end,
or stick with existing connections. (Mic jack, key jack, speaker jack.)
Module selection and theory
KF5INZ Easy Digi
board
I was looking for a design of a simple sound card to radio
interface and parts list. Somewhere I came across this neat kit that made it
all in one easy purchase that cost less than finding the parts individually.
But, even better, you get two.
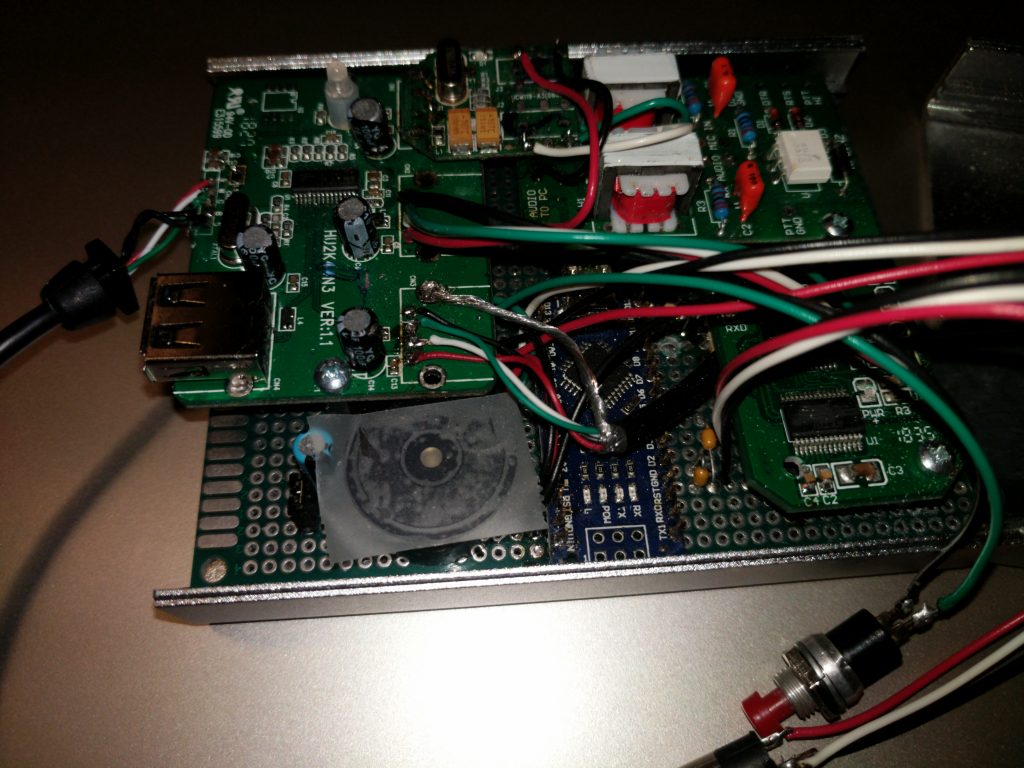
DIY Prototyping Board
This will be the “motherboard” for all the modules. It will
be a common backplane for the modules as well as provide a place for discreet
components and connectors, and allow making interconnections neatly. Get one of
a generous size. You can always trim it later.
Enclosure
After beginning to lay out the pieces on the proto board, I
began to get a feel for how big it was going to end up being. I took some rough
dimensions and started to look for an enclosure. I wanted it to be RF tight and
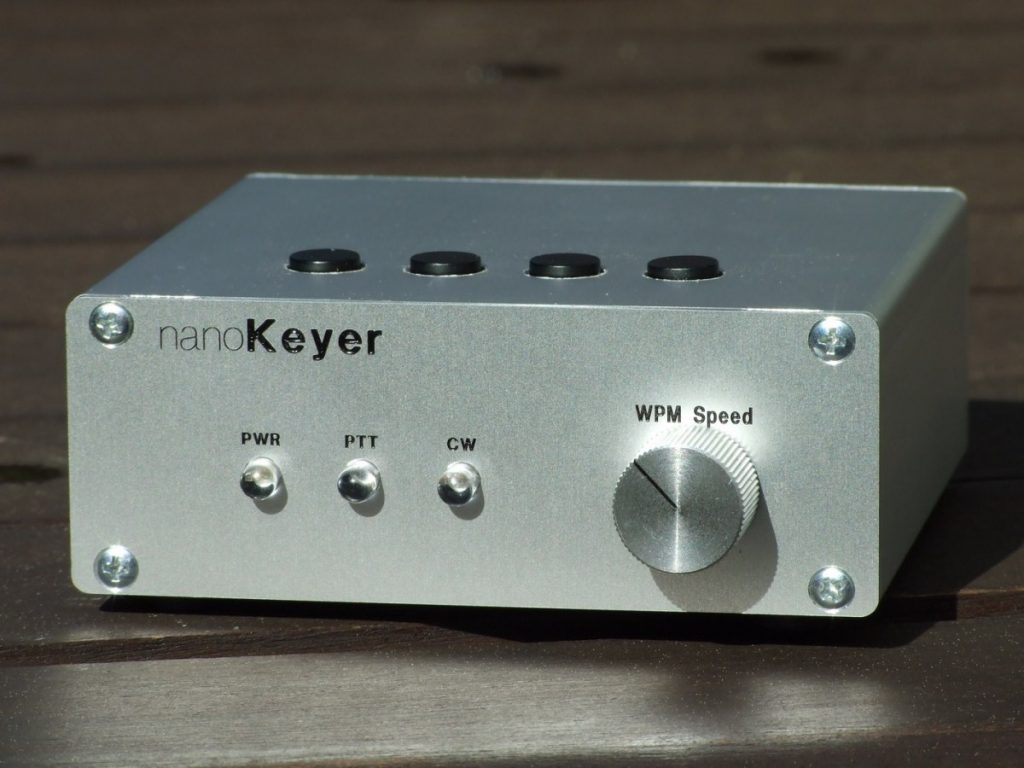
liked how my NanoKeyer turned out with an extruded aluminum box, so I looked
for something similar. I found a nice box that is 110x88x38mm and ordered it.
But to get the spare USB connector to meet up with the end panel, I have to
rotate it’s orientation on the protoboard 90 degrees. So, I’m basically taking
it all apart and rebuilding it from the start. I’m going to wait until the new
USB-serial adapter comes.
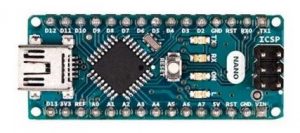
Arduino Nano
I selected the Arduino Nano to be the keyer module. I’ve
used them before in other projects, including a K3NG Nano Keyer which provides
Winkeyer USB functionality for contesting purposes. I have used many Elegoo
Arduino products before and have found them to be good quality and work
perfectly with the Arduino IDE. Getting the three-pack was just as cheap as
buying an individual one. I will have use for the others.
Some incidental circuitry will need to be built for the
keyer. I ordered some 1/8” jacks and plugs as well as some opto isolators to
complete that. I still need to come up with a speed pot and decide whether I
need memory buttons, or just one for command mode. The NanoKeyer has so many
features I can’t add them all. Fortunately, I don’t need many of them and I
rarely use the internal memories when connected to a computer.
4-Port USB 2.0
Ultra-Mini Hub
Since I am using several USB modules, I wanted to use a hub
to combine them and let me use one cable to the computer. Any cheap hub would
do as long as it can be removed from its case and integrated into the project.
Amazon Basics supplied a generic product that fits the bill at low cost. The
unit has three USB jacks on one side and one on the back corner next to the USB
cable that comes in. If mechanical considerations permit, I want to have that
back connector accessible when it is in a case. The three on the other edge are
enough for the things I’m building into the interface and will be removed from
the board and hard wired.
USB to Serial
Converter
This will provide the rig interface and keying line for the
digital modes.
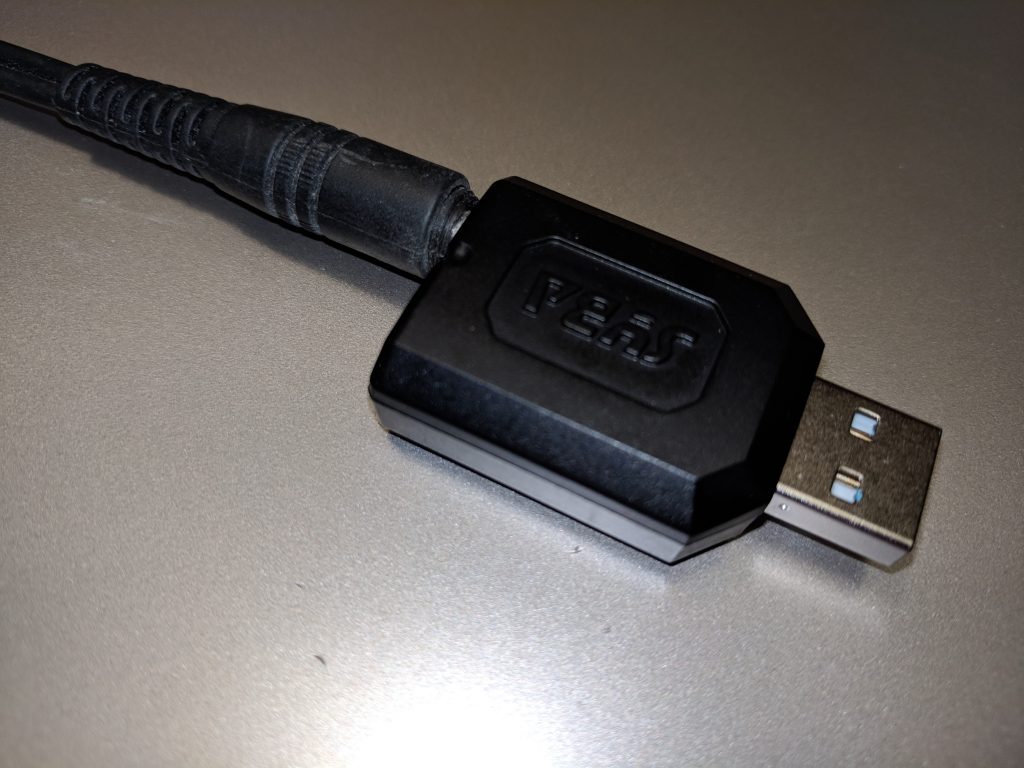
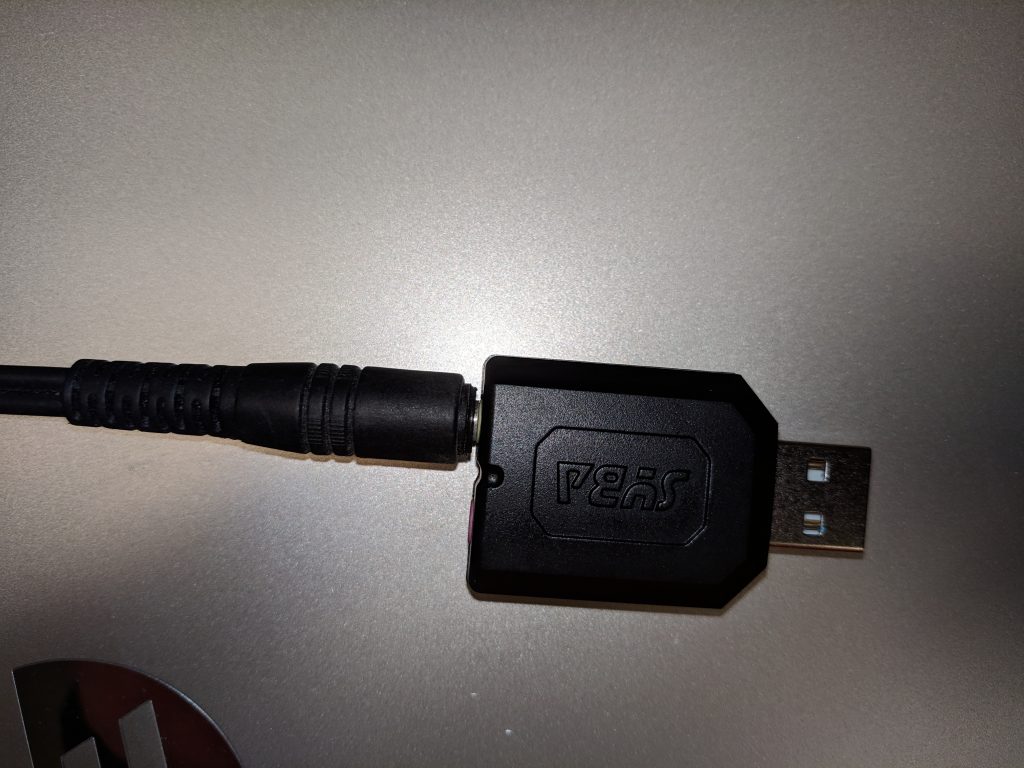
I wanted a USB to serial adapter, and had several on hand,
but most of them are made with molded plastic and looked like they were going
to be hard to remove the casing. I was going to see if I could pick one up that
had a plastic case I could crack open easily, but saw this which I thought should
do even better. It turned out, it only
provided TTL levels and even when I tried a little level converter board, did
not work with the K2.
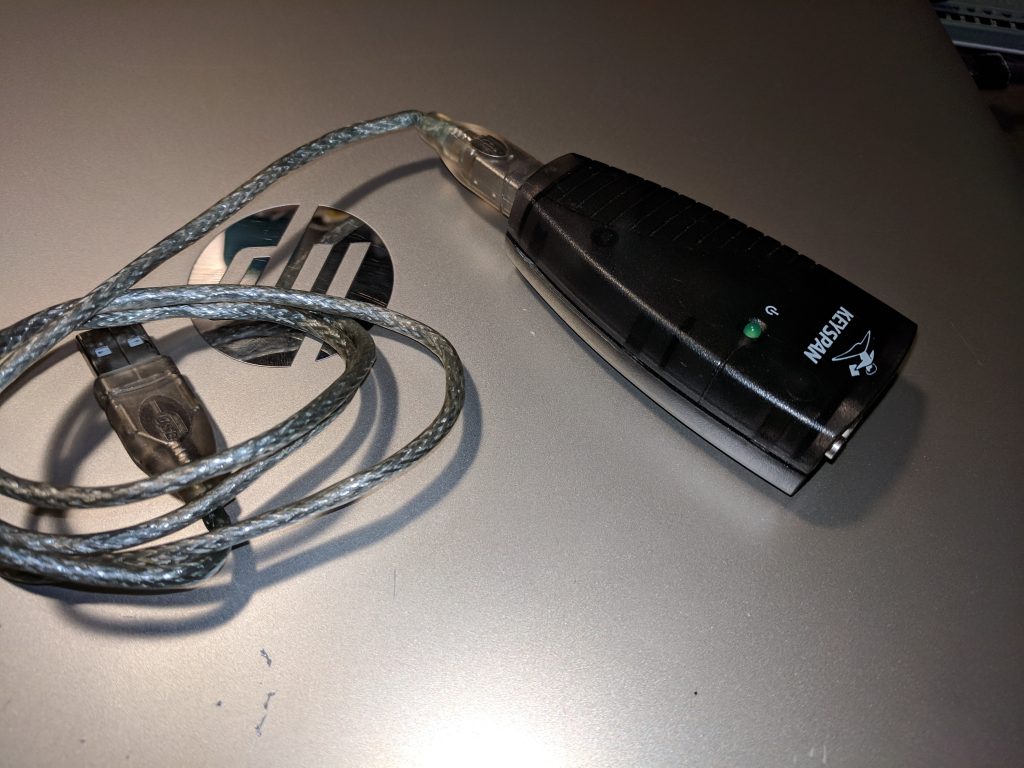
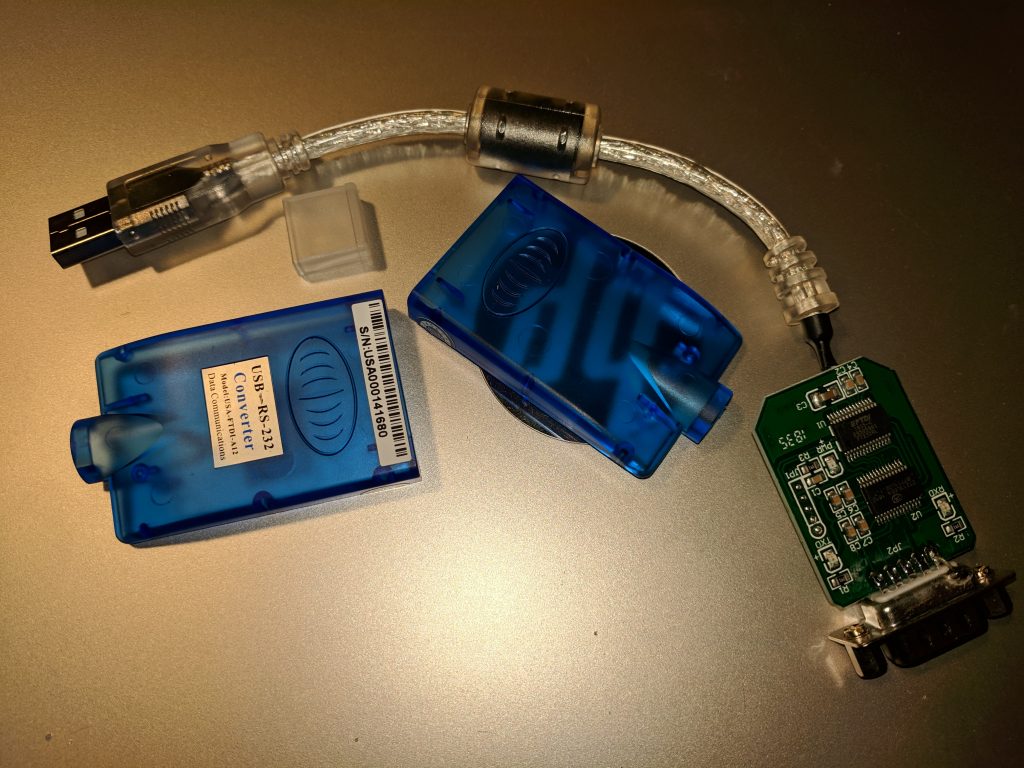
I had a Keyspan adapter that the plastic could be opened. I
thought about using it and even took it out of its case. I didn’t like the size
of it and it was an oblong shape. Even if I trimmed the board after removing
the connectors, it would be a kludge. So I looked for something online.
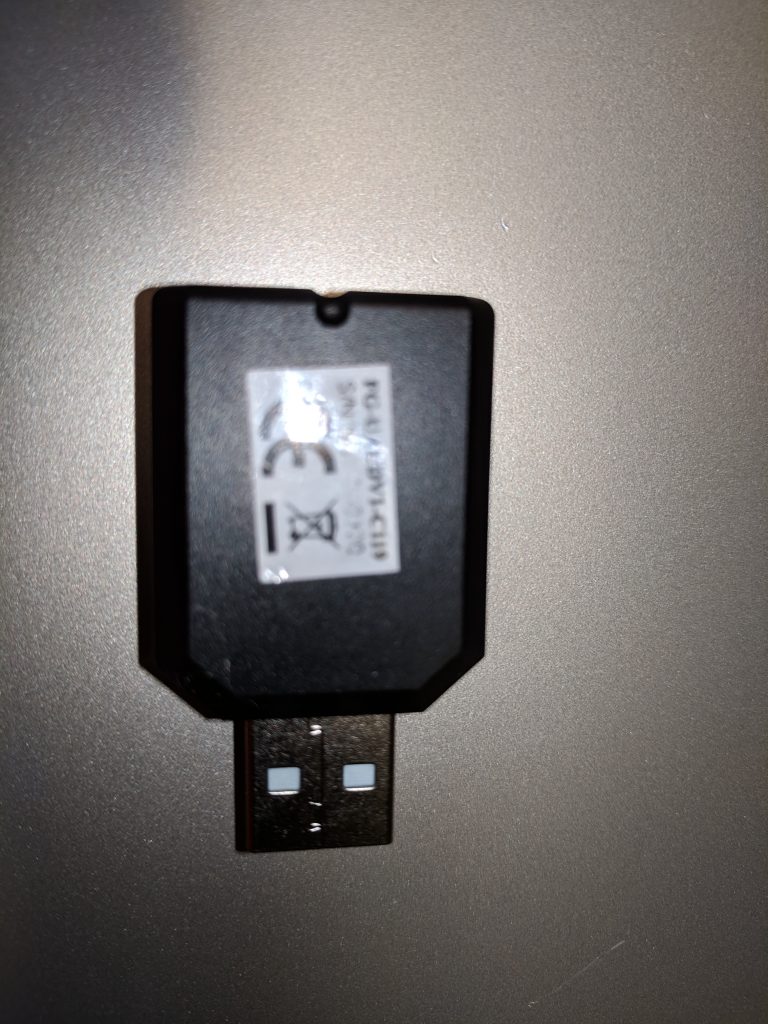
I found a different adapter with a rectangular shape and a
case that looks like it will open easily. It also claims to be a FTDI chip so I
already have the drivers. I’ll put the connector back on the other board and
keep it. It might come in handy for something else.
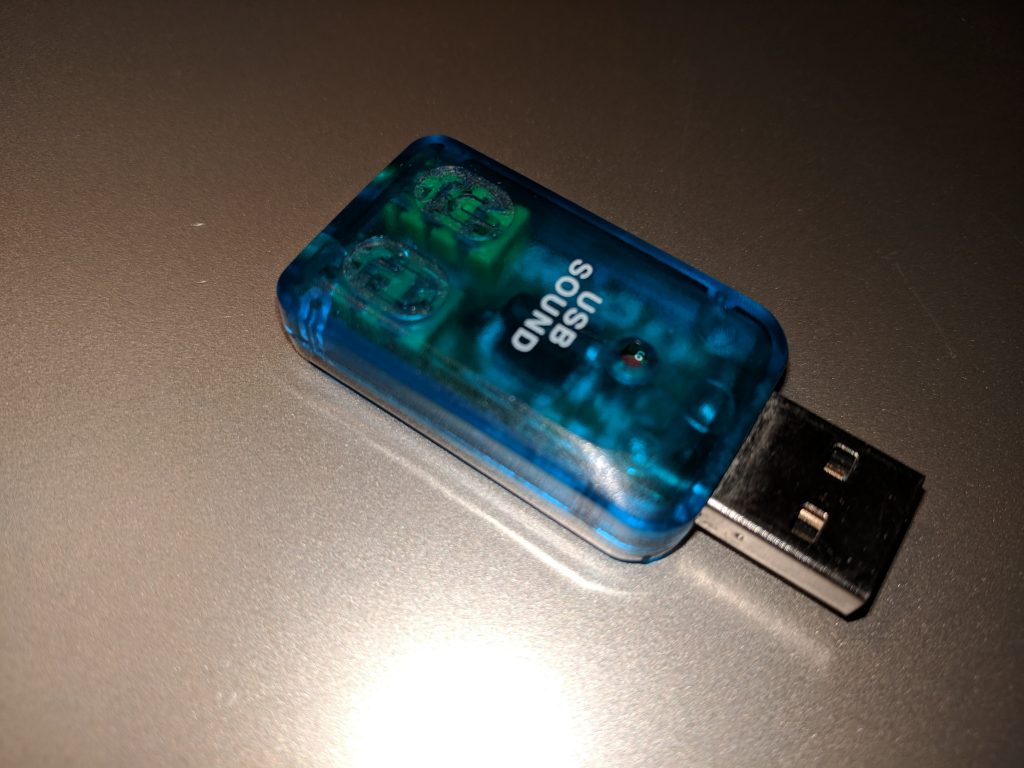
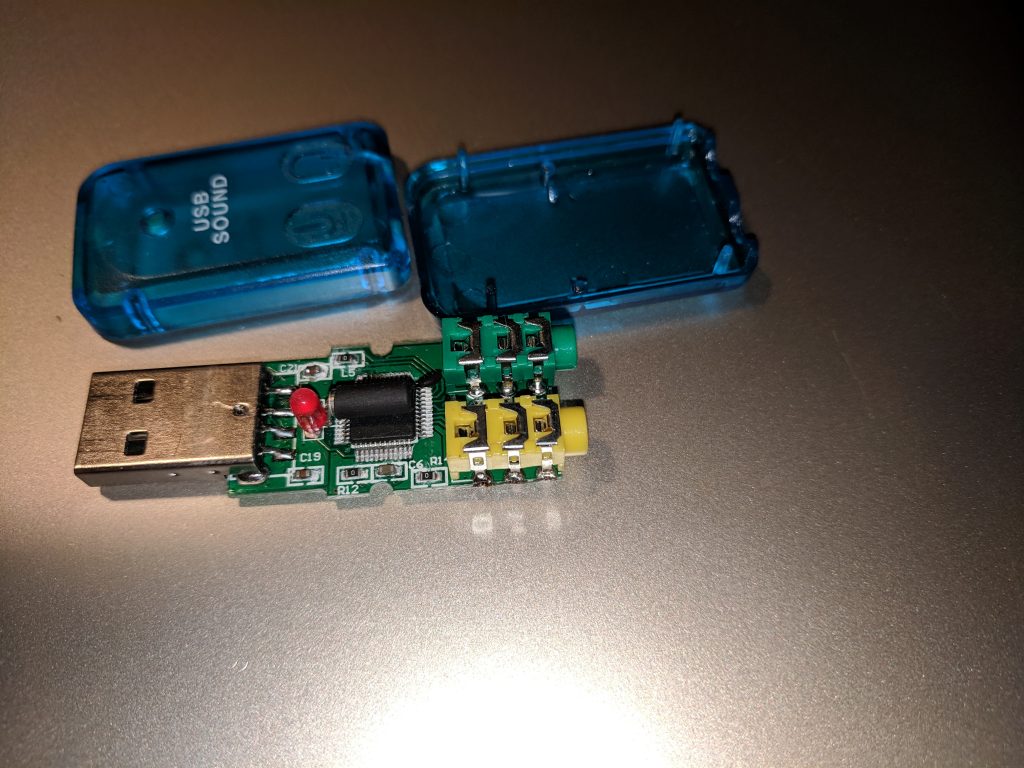
USB Audio Adapter
I had one on hand, so I did not initially buy one. But the
one I had didn’t seem to work. It was a cheap one that I had laying around and
I couldn’t seem to get a decent audio level into it. It played back music into
headphones and sounded great, but I think the mic input may have gotten fried.
So, after a recommendation on e-Ham.net, I ordered the one in the list. It
seems to work much better.
Unresolved Issues (So
Far)
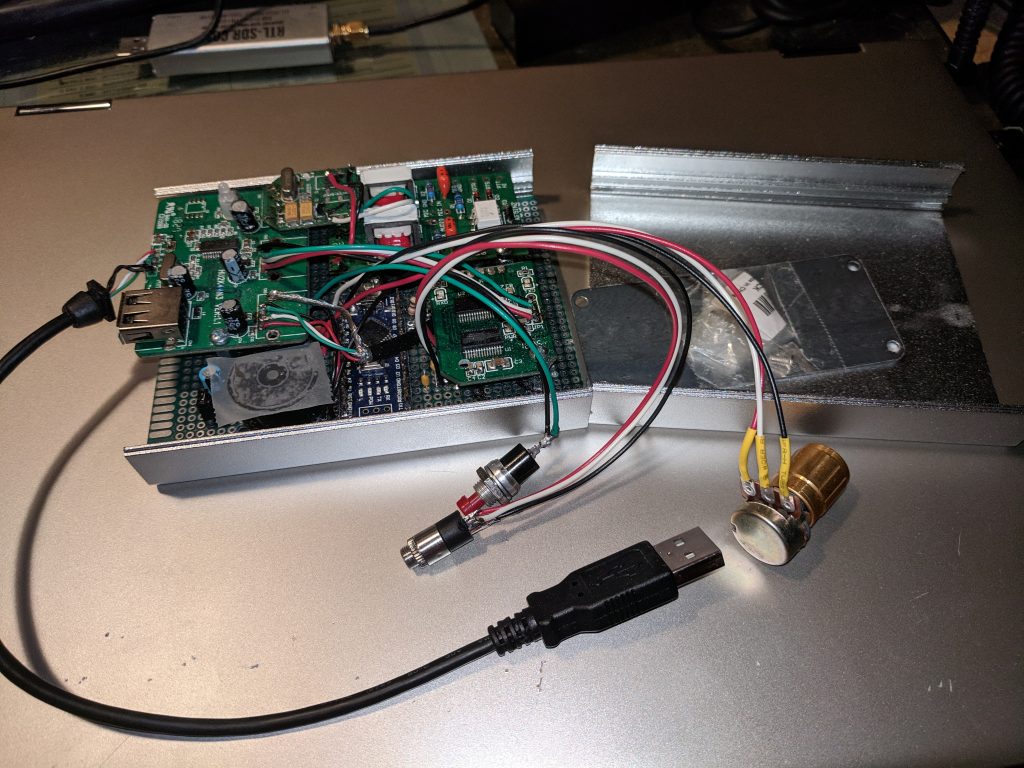
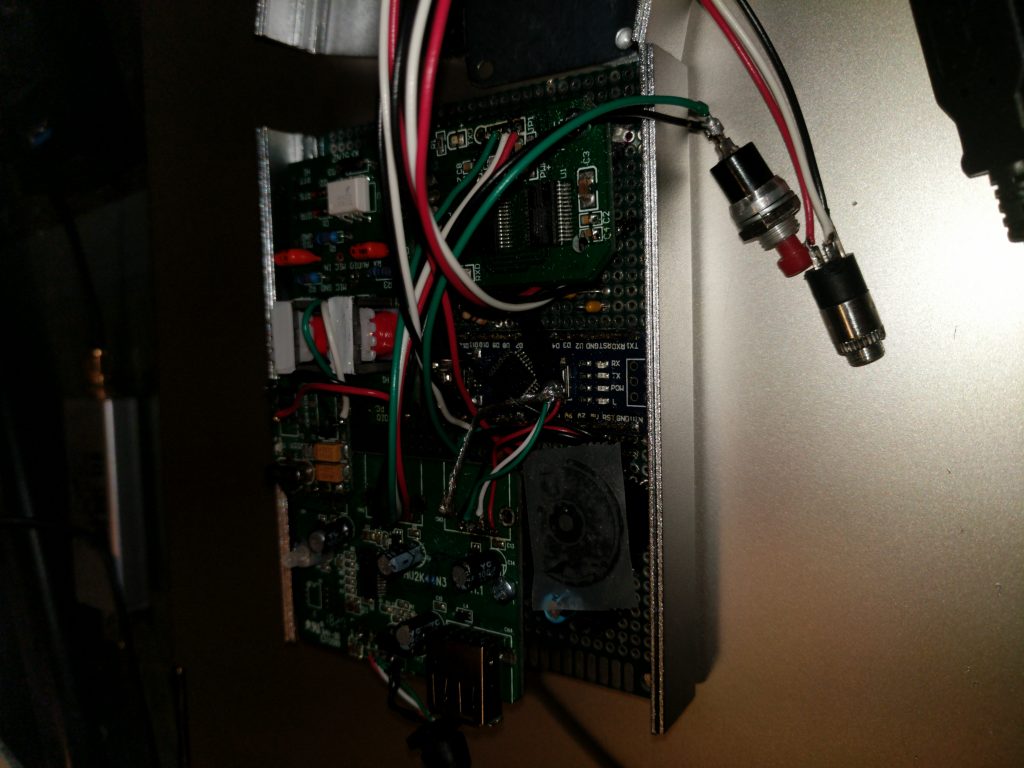
NanoKeyer. A number of discrete circuits around the Arduino Nano board need to be built. I am waiting until all other layout work is done to finalize this. To get space, I am considering either putting the Nano under the USB hub which is raised on standoffs, or else putting it on the opposite side of the proto board where it would have the whole board.
Update: The Arduino Nano is mounted on the proto board and the associated components installed. Good news is, it works! It’s a pretty bare-bones version of the K3NG keyer program with mostly just a basic keyer and the Winkeyer functions.
PTT circuit. I haven’t decided how I want to go about keying
the rig for digital modes. I think this may solve itself by what works. I have
choices: RTS/DTR lines from the serial port. A VOX circuit. Or a VOX circuit
triggered by a tone on the right audio channel. We’ll see what works best.
USB-serial adapter. I hope the new one I ordered works. Just works.
Update: The new serial-USB adapter came. It was easy to get out of it’s case and the USB cable came off easily and was wired directly to the USB hub. The DB9 connector was not so easy. I couldn’t unsolder it. Since it was soldered to both sides of the board, I couldn’t get the terminals free. I decided to cut it free with a Dremel tool and cutting wheel. That worked, but I slipped and cut a trace. It might not be one that is needed, but I repaired it with a tiny strand of wire.
Footnotes:
An interesting interface built into the K2. https://is.gd/Vdf4GO
KIO2 Manual with cable instructions https://is.gd/bx1xzK
FTDI Support Documents https://is.gd/pSYxdV
KD2AVU Soundcard interface https://is.gd/OwVBzX
TrueHamFashion articles on the EasyDigi interface:
https://is.gd/BGEkGT
https://is.gd/r7Yxzp
https://www.youtube.com/watch?v=VGpfQuorKN0
(video)
UZ7HO Soundmodem (software TNC) https://is.gd/twOsRG
WinLink Express https://winlink.org/WinlinkExpress
DuinoVox rig interface https://is.gd/2hzpPn
W3FPR Fixed Audio Out for the K2 http://www.w3fpr.com/K2_Fixed_Audio_Output.htm
Appendix A: Nano
Keyer commands
Buttons
button 0: command mode / command mode exit
button 0 + left paddle: increase cw
speed
button 0 + right paddle: decrease cw speed
button 1 – 12 hold + left paddle: repeat memory
button 1 – 6 half second hold: switch to TX # 1 – 6
Command Mode (press button 0 to enter command
mode and press again to exit)
A
Switch to Iambic A mode
B Switch to Iambic B mode
C Switch to Single Paddle Mode
D Switch to Ultimatic mode
E Announce speed
F Adjust sidetone frequency
G Switch to bug mode
H Set weighting and dah to dit ratio to
defaults
I TX enable / disable
J Dah to dit ratio adjust
K Toggle Dit and Dah Buffers on and off
(Ultimatic)
L Adjust weighting
N Toggle paddle reverse
O Toggle sidetone on / off
P#(#) Program a memory
R#### Set serial number to ####
S Alphabet code practice
(FEATURE_ALPHABET_SEND_PRACTICE)
T Tune mode
V Toggle potentiometer active / inactive
W Change speed
X Exit command mode (you can also press
the command button (button0) to exit)
Y#### Change memory repeat delay to #### mS
Z Autospace On/Off
# Play a memory without transmitting
? Status
1. Speed in WPM
2. Keyer Mode (A = Iambic A, B =
Iambic B, G = Bug, S = Single Paddle, U = Ultimatic)
3. Weighting
4. Dah to Dit Ratio
Strikeout – Does not apply to this configuration