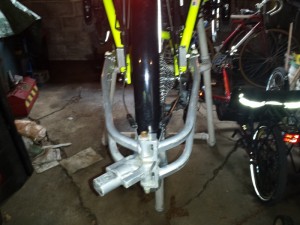
One thing I wanted to be able to do, just in case I want, is to be able to hook up my trailer to the new Catrike Expedition. I have used it many times with the Terratrike, but the attachment system will need to be different.
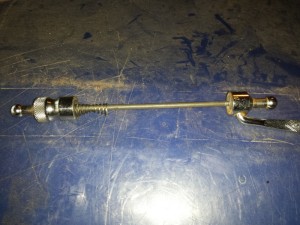
The trailer, a TW-Bents two-wheeled trailer, has a yoke that attaches at both sides of the bike, a system I like and one of the reasons I chose that trailer. It attaches to the ends of a special quick-release skewer that you use in the back wheel.
Unfortunately, the Catrike doesn’t have a quick-release on the back wheel, because of the internal geared hub.
The problem would be solved by simply buying and installing some bolt-on attachments from the company that made the trailer, but that company is out of business. So I had to solve the problem on my own.
My solution was to add my own points of attachment to the bars at the side of the rear rack. The rack had a series of holes that fit M5 metric bolts and plenty of space to add something. But the size of the hitch was larger. A 3/16″ bolt would be nearly perfect. So how do I get a 3/16″ piece to bolt through a M5 sized hole?
I had some really elegant ideas that I could come up with, if I just owned a metal lathe. I seriously considered going that route and begging or borrowing access to that tool. But after some consideration, I thought I could kludge something else up to do the job. This is what I came up with.
 |
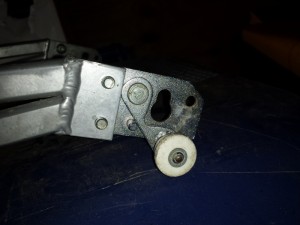 |
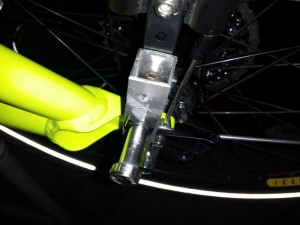
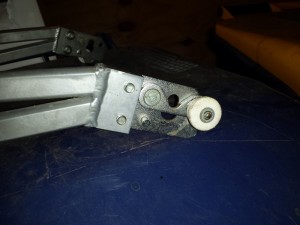
This is the hitch attachment in the open and closed position. It goes over the hitch and locks in place. One goes on each side of the rear wheel. |
|
The easy part was the 3/16″ bolt. I bought some 3/16″ by 2″ bolts that had about an inch of un-threaded shaft. I put them in a drill chuck and with the drill running, ground the hex head down until it was round and fit through the larger part of the keyhole shaped opening in the trailer’s attachments that you can see above. I rounded them a bit to help them fit through while lining them up.
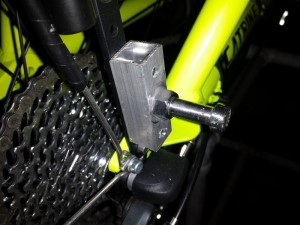
To attach those bolts to the bike with M6 bolts, I decided to use a piece of 3/4″ square aluminum tubing that I had around already. I drilled a short piece to fit the 3/16″ bolts and put it together with first a nut, then through the tubing, then inside the tubing, a 3/16 Nylock nut. The end of the bolt just rests in the opening in the other side of the tube to give it some support. The two nuts lock together when tightened and the Nylock makes sure it never loosens.
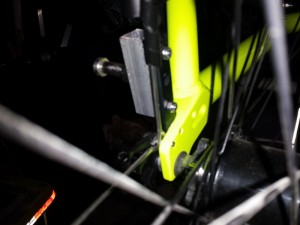
Here you can see the whole assembly attached to the rack support. It covers a span of three holes in the support. Fortunately, there was room. My first attempt at a shorter piece that only spanned two holes didn’t leave enough room to put it all together.
I had to tighten the Nylock nut inside the square tubing by wedging a screwdriver inside and tightening the bolt with vice-grips, but it all went together solidly. The bolts are stainless and a little emery cloth cleaned them back up.
Installing the assembly with the M5 bolts was also tricky. I put the M5 bolt inside the square tubing and the hole drilled all the way through the tubing allowed access for an allen wrench.
I used Nylock nuts again on the back to keep them from loosening.
The 3/4 inch tubing helps hold the trailer arms away from the Catrike frame, as they are meant to be. The skewer mount had a wider part that did the same thing, especially near the rear derailleur.
So, I’m ready to start trailering with the Catrike Expedition. It rained all day today, so I haven’t hooked it up to try yet. There may be a few adjustments, but I think it will work okay.
I like this trailer because it is a two-wheel trailer and is stable and can carry quite a load. As you can see in the photo, there is a pivot point in the yoke that allows the trailer and trike to tilt side to side independently. Someone online was insisting that two-wheeled trailers should not be used with trikes because of twisting forces, but with this arrangement, that’s a lot of bunk.
