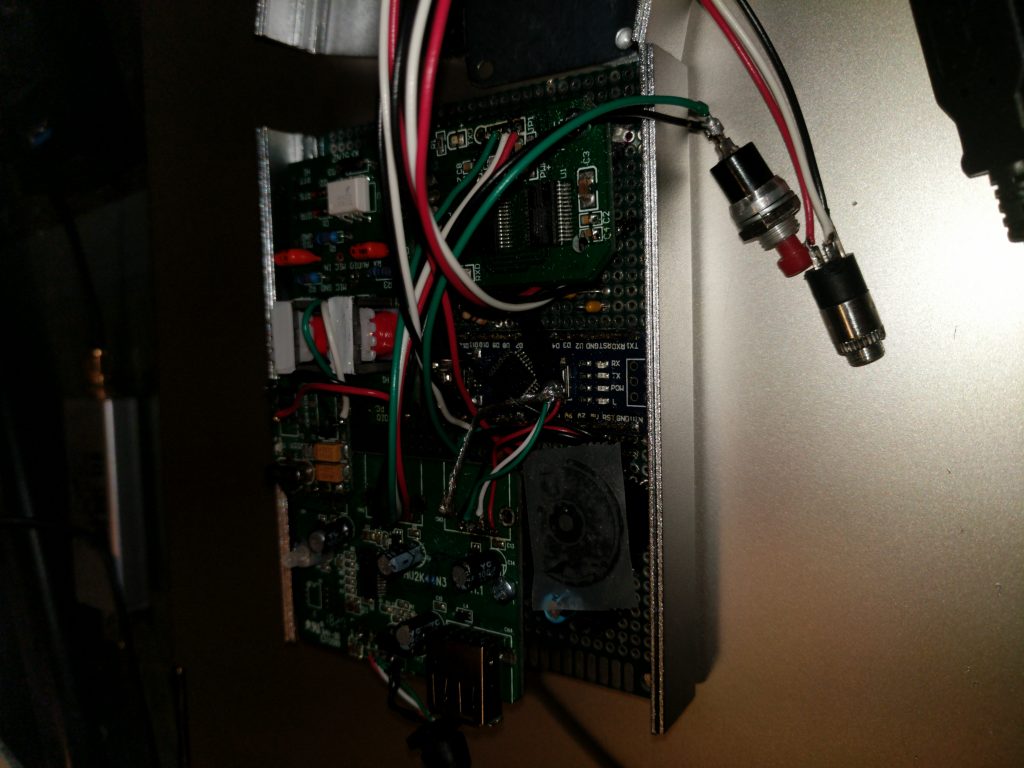
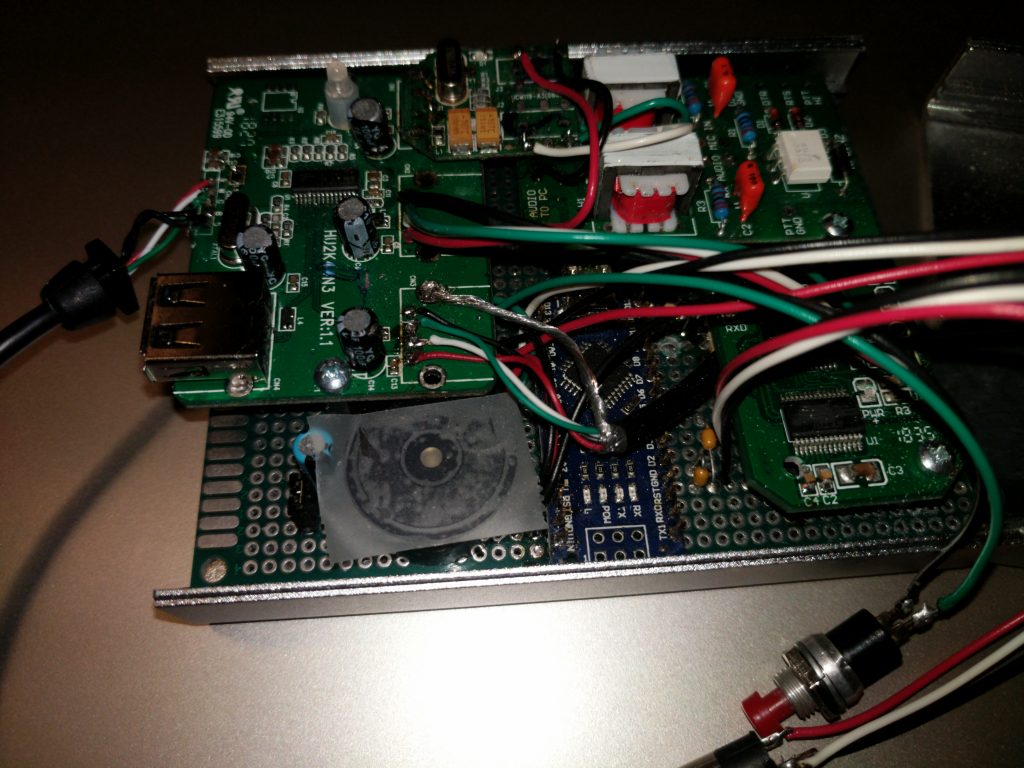
USB SOUND CARD RADIO INTERFACE PROJECT

A project using off-the shelf modules to build an all-in-one Ham Radio interface for digital modes and contesting.

This article is a work in progress. I will continue to update this while it progresses. Photos will be added eventually.?

Parts:   

Item Source Price URL Notes
KF5INZ Easy Digi board (2pcs) Ebay $15.91 https://is.gd/n0cqq7 You get two for this price!  
DIY Prototyping Board PCB (5pcs) Ebay $6.99 https://is.gd/JMeO94   Many sizes available on both Amazon and EBay or elsewhere.
ELEGOO Arduino Nano V3.0 (3pcs) Amazon $13.86 https://is.gd/0JmAlJ   https://blog.radioartisan.com/arduino-cw-keyer/  
AmazonBasics 4-Port USB 2.0 Ultra-Mini Hub Amazon $6.99 https://is.gd/P4HYov    
GearMo USB to serial converter Amazon $16.88 https://is.gd/cejiNb

Win 7,8,10 compatible
CH340 chipset
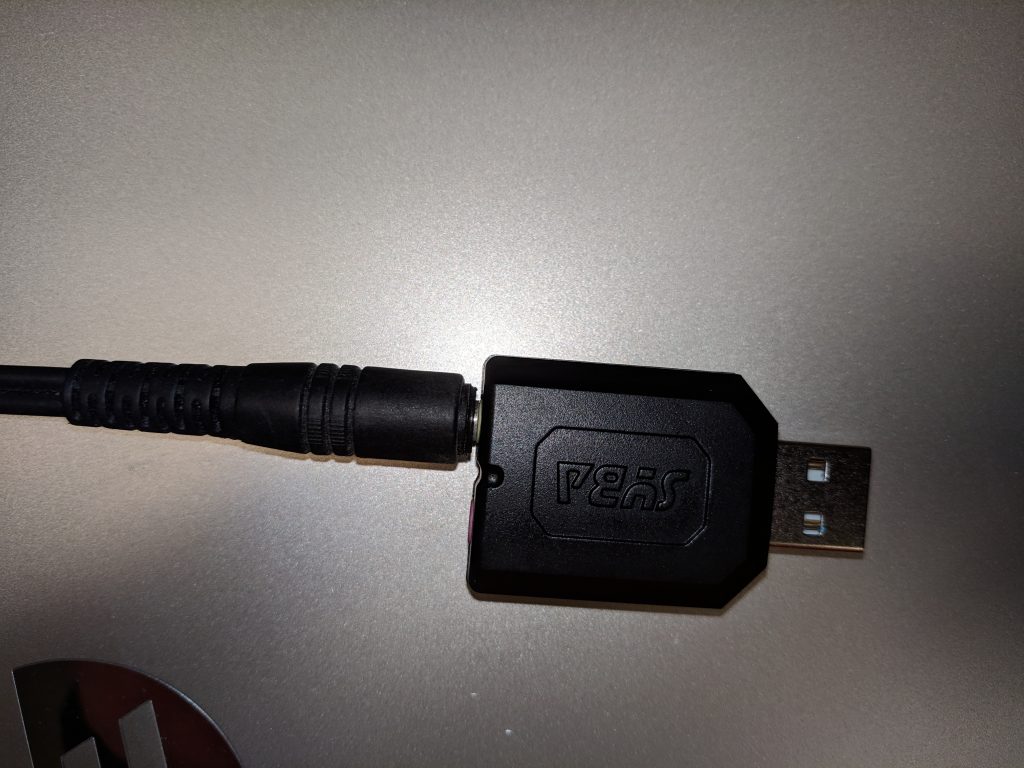
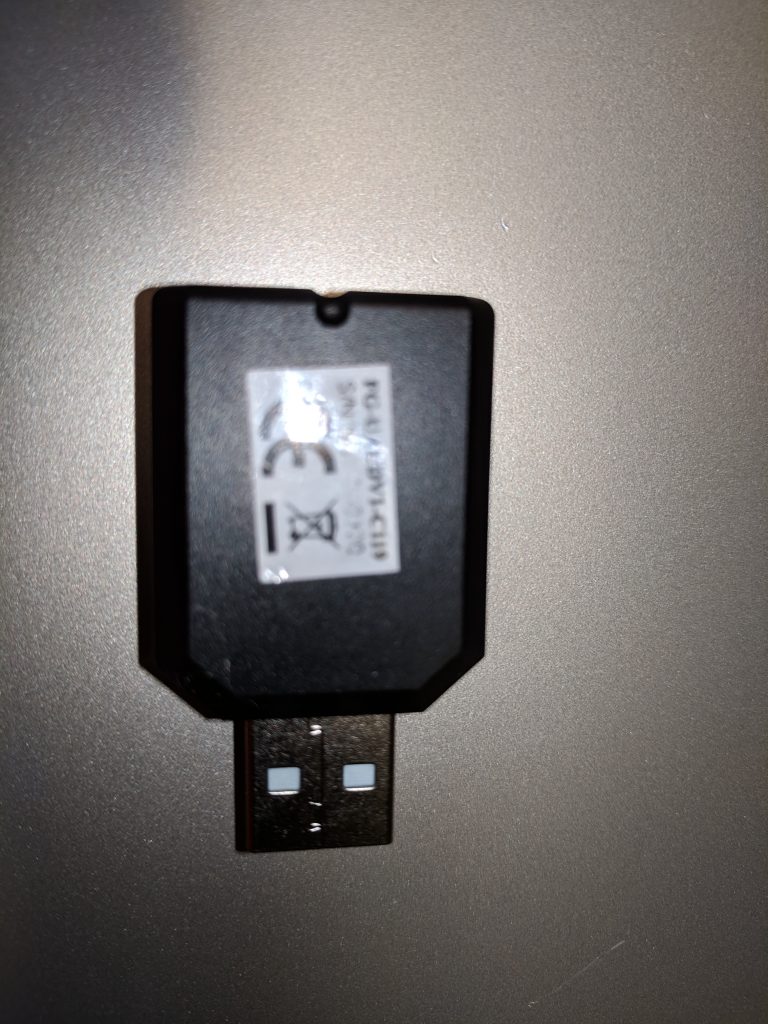
USB Audio Adapter
(Sound card)
Amazon $6.69 https://is.gd/SgBDQi Any similar adapter will do.
Enclosure Ebay $7.51 https://is.gd/7cHP96 Split Body Extruded Aluminum Box 110*88*38mm

The Plan

I have been thinking about putting together an all-in-one interface box to use with a laptop and my K2 for digital sound card modes as well as some QRP contesting. Looking at the available offerings everything I saw either didn’t do something I wanted, was too expensive, or was too complex – doing many things I didn’t need. I have an old Rigblaster, but it’s not a USB version, so I’d need another USB-serial adapter to use it. Everything just added multiple wires and connections to deal with.

So I started thinking about doing it myself. Rig interface, I already had. With the K2 it’s simple. Just a USB-Serial adapter with a short cable that I built a keying interface into. But I still wanted a Winkeyer for contest CW. I have a Winkey USB, as well as a K3NG Nanokeyer which both do the job well. I had USB sound cards, but not the interface circuits between them and the radio. So I would need to build that up.

So what do I end up with? Rig interface for frequency control – 1 USB port. Contest keyer – 2 USB ports. Sound card interface – 3 USB ports and an interface box. Lots of cables. Three USB ports would nearly fill my laptop. If I use my Surface Pro, it would require a hub. Another box and wires. 

I decided some consolidation would simplify things greatly for portable operation, so the idea of combining all the above into one package was born. I could take inexpensive modules out of their packages and combine them into one complete station interface. That’s the premise of this project and this document is the beginning of it.

Some software is able to use one audio channel to put a pilot tone out that is used to control the radio PTT. Others use DTR or RTS lines. Most contest logging software uses the control lines as well. Some people are using a delay circuit to hold the PTT in. The Winkeyer handles this on its own. I am not sure how I will end up doing the PTT, I may use a combination of these.

The goal of this is to simplify the wiring needed to use digital modes between my K2 and a laptop. Ideally, I want to end up with one USB cable from the laptop to the interface, and one cable and connector from the interface to the K2. The last cable might have multiple plugs that fan out to the rig, but I want the bulk to be one cable and plug into the interface. I’m still considering whether I want to install a dedicated plug at the K2 end, or stick with existing connections. (Mic jack, key jack, speaker jack.)

Module selection and theory

KF5INZ Easy Digi board

I was looking for a design of a simple sound card to radio interface and parts list. Somewhere I came across this neat kit that made it all in one easy purchase that cost less than finding the parts individually. But, even better, you get two.

DIY Prototyping Board

This will be the “motherboard” for all the modules. It will be a common backplane for the modules as well as provide a place for discreet components and connectors, and allow making interconnections neatly. Get one of a generous size. You can always trim it later.

Enclosure

After beginning to lay out the pieces on the proto board, I began to get a feel for how big it was going to end up being. I took some rough dimensions and started to look for an enclosure. I wanted it to be RF tight and liked how my NanoKeyer turned out with an extruded aluminum box, so I looked for something similar. I found a nice box that is 110x88x38mm and ordered it. But to get the spare USB connector to meet up with the end panel, I have to rotate it’s orientation on the protoboard 90 degrees. So, I’m basically taking it all apart and rebuilding it from the start. I’m going to wait until the new USB-serial adapter comes.

Arduino Nano

I selected the Arduino Nano to be the keyer module. I’ve used them before in other projects, including a K3NG Nano Keyer which provides Winkeyer USB functionality for contesting purposes. I have used many Elegoo Arduino products before and have found them to be good quality and work perfectly with the Arduino IDE. Getting the three-pack was just as cheap as buying an individual one. I will have use for the others.

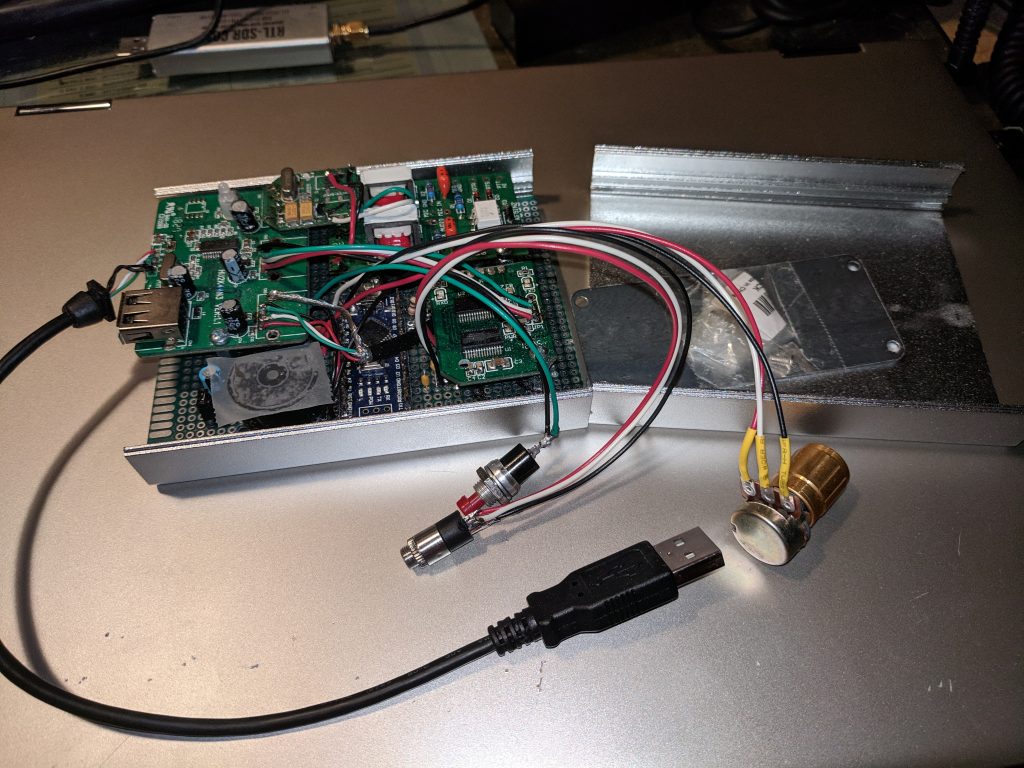
Some incidental circuitry will need to be built for the keyer. I ordered some 1/8” jacks and plugs as well as some opto isolators to complete that. I still need to come up with a speed pot and decide whether I need memory buttons, or just one for command mode. The NanoKeyer has so many features I can’t add them all. Fortunately, I don’t need many of them and I rarely use the internal memories when connected to a computer.

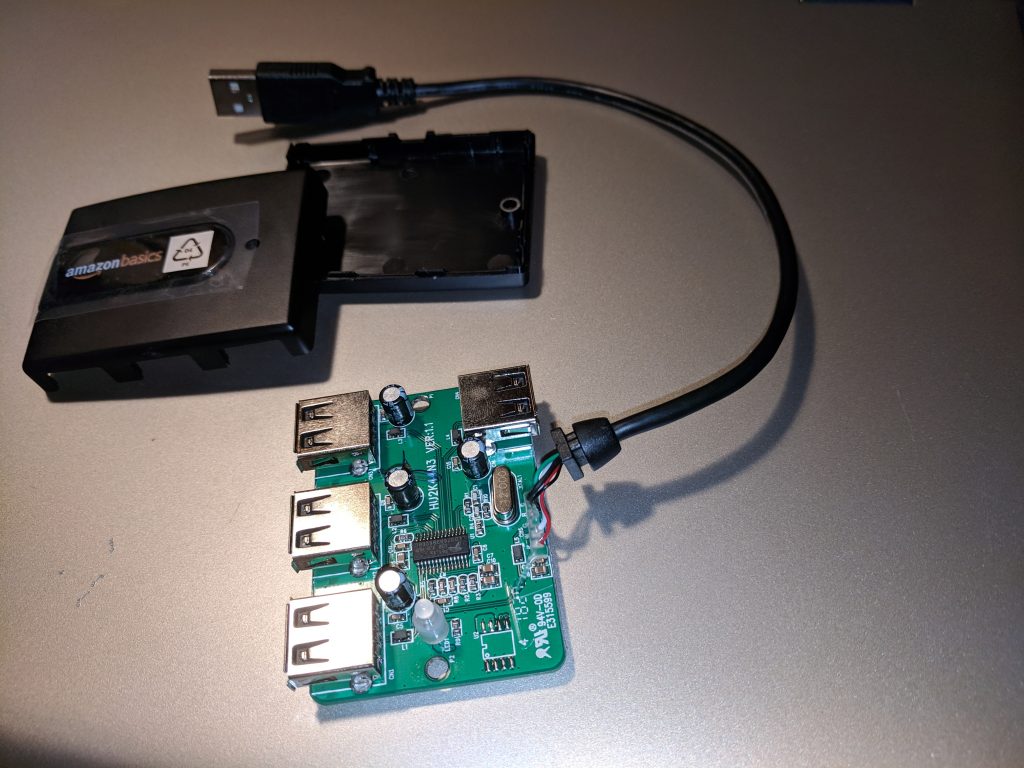
4-Port USB 2.0 Ultra-Mini Hub

Since I am using several USB modules, I wanted to use a hub to combine them and let me use one cable to the computer. Any cheap hub would do as long as it can be removed from its case and integrated into the project. Amazon Basics supplied a generic product that fits the bill at low cost. The unit has three USB jacks on one side and one on the back corner next to the USB cable that comes in. If mechanical considerations permit, I want to have that back connector accessible when it is in a case. The three on the other edge are enough for the things I’m building into the interface and will be removed from the board and hard wired.

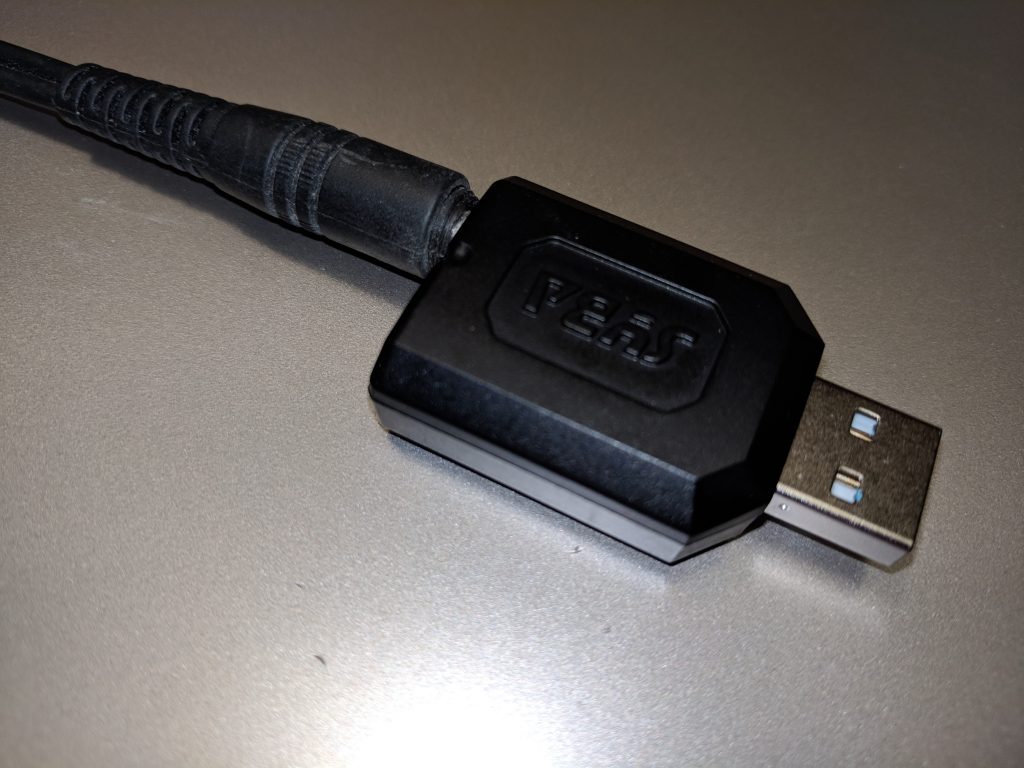
USB to Serial Converter

This will provide the rig interface and keying line for the digital modes.

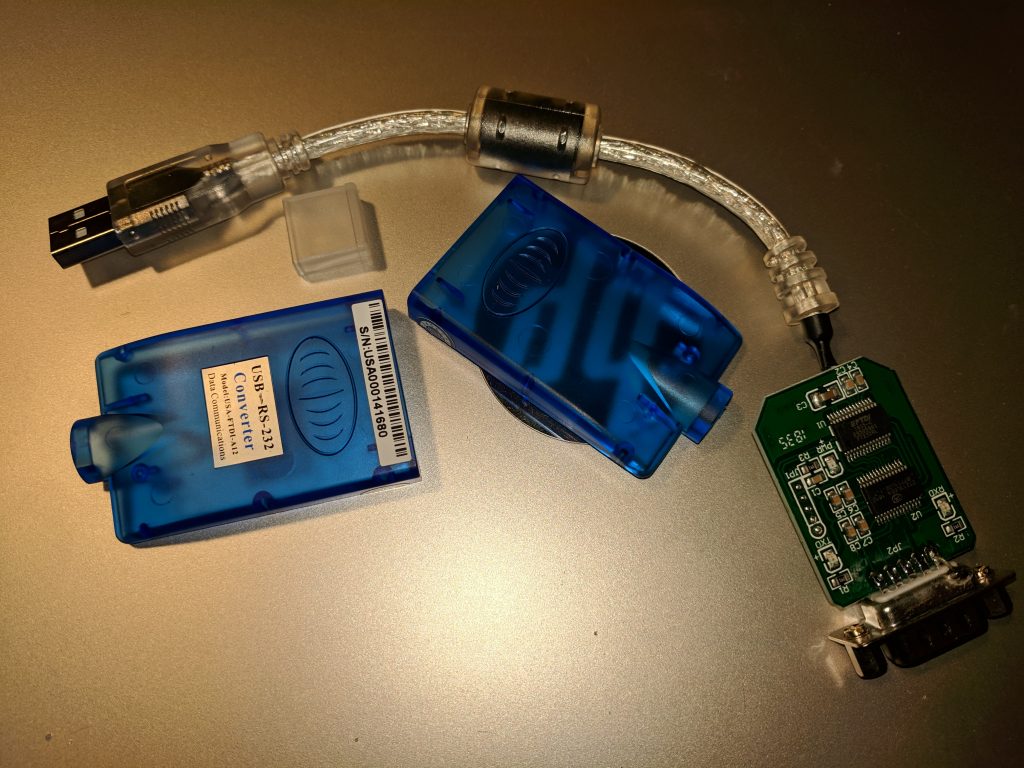
I wanted a USB to serial adapter, and had several on hand, but most of them are made with molded plastic and looked like they were going to be hard to remove the casing. I was going to see if I could pick one up that had a plastic case I could crack open easily, but saw this which I thought should do even better.  It turned out, it only provided TTL levels and even when I tried a little level converter board, did not work with the K2.

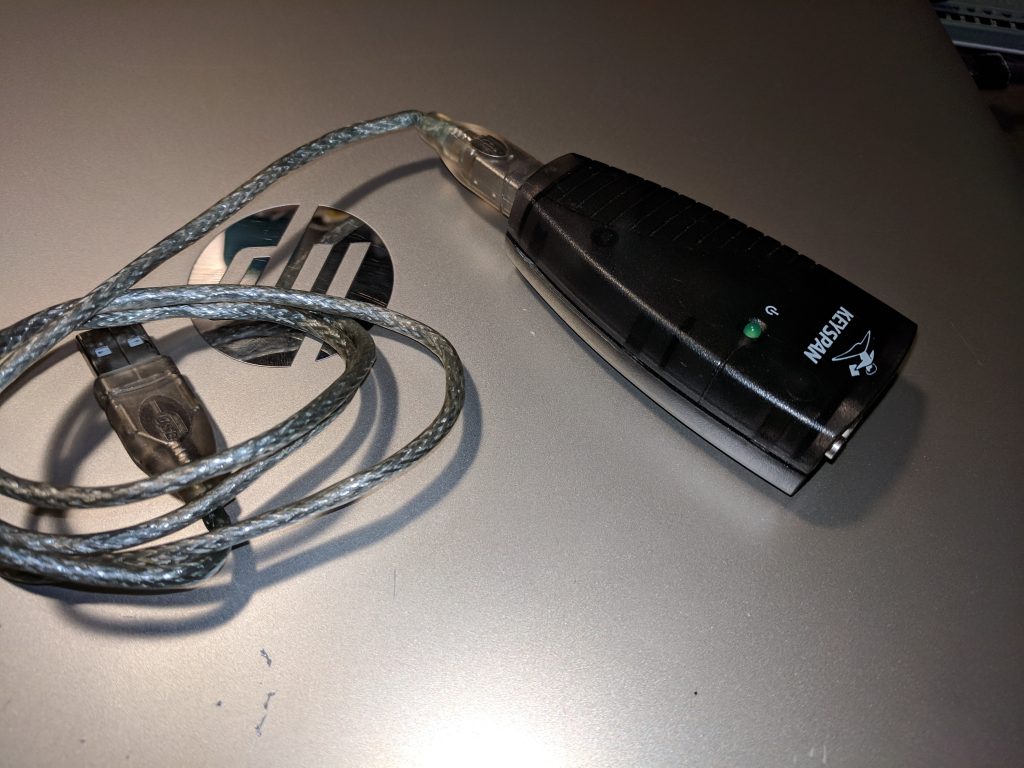
I had a Keyspan adapter that the plastic could be opened. I thought about using it and even took it out of its case. I didn’t like the size of it and it was an oblong shape. Even if I trimmed the board after removing the connectors, it would be a kludge. So I looked for something online.

I found a different adapter with a rectangular shape and a case that looks like it will open easily. It also claims to be a FTDI chip so I already have the drivers. I’ll put the connector back on the other board and keep it. It might come in handy for something else.

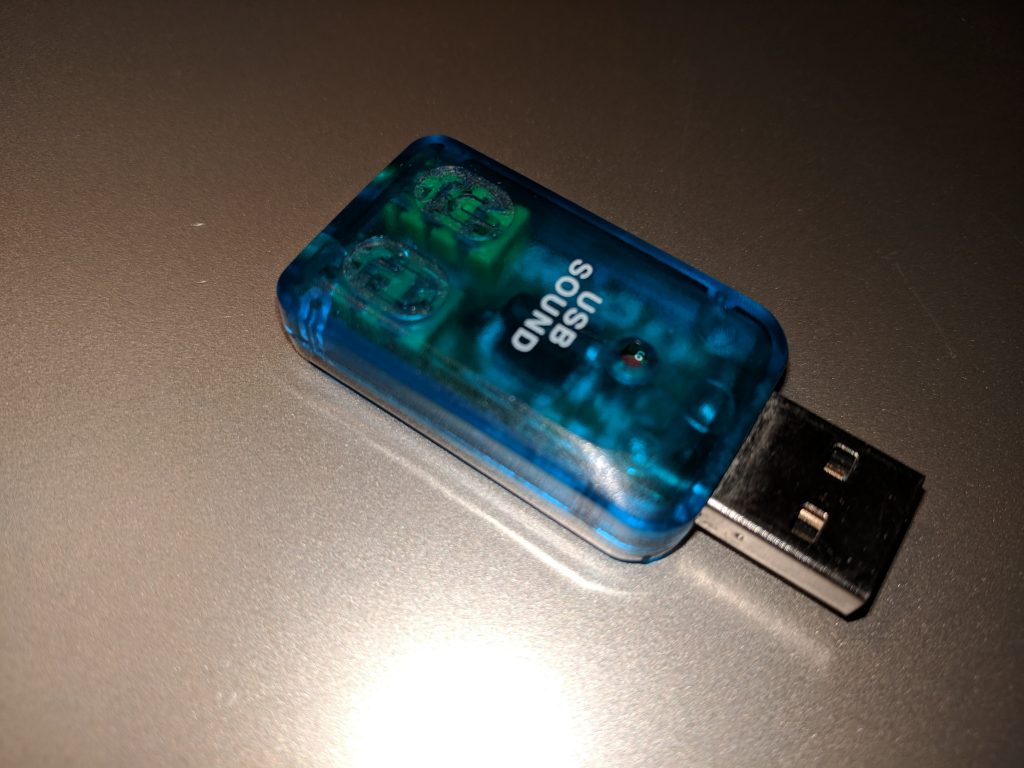
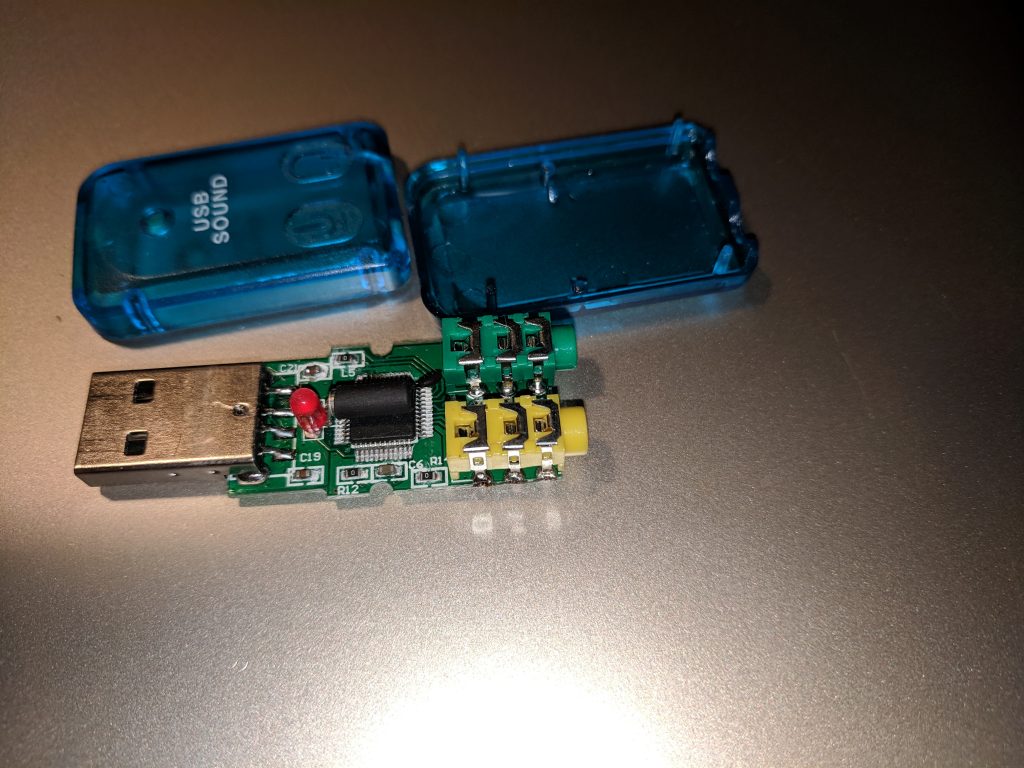
USB Audio Adapter

I had one on hand, so I did not initially buy one. But the one I had didn’t seem to work. It was a cheap one that I had laying around and I couldn’t seem to get a decent audio level into it. It played back music into headphones and sounded great, but I think the mic input may have gotten fried. So, after a recommendation on e-Ham.net, I ordered the one in the list. It seems to work much better.

Unresolved Issues (So Far)

NanoKeyer. A number of discrete circuits around the Arduino Nano board need to be built. I am waiting until all other layout work is done to finalize this. To get space, I am considering either putting the Nano under the USB hub which is raised on standoffs, or else putting it on the opposite side of the proto board where it would have the whole board.

Update: The Arduino Nano is mounted on the proto board and the associated components installed. Good news is, it works! It’s a pretty bare-bones version of the K3NG keyer program with mostly just a basic keyer and the Winkeyer functions.

PTT circuit. I haven’t decided how I want to go about keying the rig for digital modes. I think this may solve itself by what works. I have choices: RTS/DTR lines from the serial port. A VOX circuit. Or a VOX circuit triggered by a tone on the right audio channel. We’ll see what works best.

USB-serial adapter. I hope the new one I ordered works. Just works.
Update: The new serial-USB adapter came. It was easy to get out of it’s case and the USB cable came off easily and was wired directly to the USB hub. The DB9 connector was not so easy. I couldn’t unsolder it. Since it was soldered to both sides of the board, I couldn’t get the terminals free. I decided to cut it free with a Dremel tool and cutting wheel. That worked, but I slipped and cut a trace. It might not be one that is needed, but I repaired it with a tiny strand of wire.

Footnotes:

An interesting interface built into the K2. https://is.gd/Vdf4GO

KIO2 Manual with cable instructions https://is.gd/bx1xzK

FTDI Support Documents https://is.gd/pSYxdV

KD2AVU Soundcard interface https://is.gd/OwVBzX

TrueHamFashion articles on the EasyDigi interface:
https://is.gd/BGEkGT
https://is.gd/r7Yxzp
https://www.youtube.com/watch?v=VGpfQuorKN0 (video)

UZ7HO Soundmodem (software TNC) https://is.gd/twOsRG

WinLink Express https://winlink.org/WinlinkExpress

DuinoVox rig interface https://is.gd/2hzpPn

W3FPR Fixed Audio Out for the K2 http://www.w3fpr.com/K2_Fixed_Audio_Output.htm

Appendix A: Nano Keyer commands

Buttons

button 0: command mode / command mode exit
button 0 + left paddle:  increase cw speed
button 0 + right paddle: decrease cw speed
button 1 – 12 hold + left paddle: repeat memory
button 1 – 6 half second hold: switch to TX # 1 – 6

  Command Mode (press button 0 to enter command mode and press again to exit)

A  Switch to Iambic A mode
B  Switch to Iambic B mode
C  Switch to Single Paddle Mode
D  Switch to Ultimatic mode
E  Announce speed
F  Adjust sidetone frequency
G  Switch to bug mode
H  Set weighting and dah to dit ratio to defaults
I  TX enable / disable
J  Dah to dit ratio adjust
K  Toggle Dit and Dah Buffers on and off (Ultimatic)
L  Adjust weighting
N  Toggle paddle reverse
O  Toggle sidetone on / off
P#(#) Program a memory
R####  Set serial number to ####
S  Alphabet code practice (FEATURE_ALPHABET_SEND_PRACTICE)
T  Tune mode
V  Toggle potentiometer active / inactive
W  Change speed
X  Exit command mode (you can also press the command button (button0) to exit)
Y#### Change memory repeat delay to #### mS
Z  Autospace On/Off
#  Play a memory without transmitting
?  Status
         1. Speed in WPM
         2. Keyer Mode (A = Iambic A, B = Iambic B, G = Bug, S = Single Paddle, U = Ultimatic)
         3. Weighting
         4. Dah to Dit Ratio

Strikeout – Does not apply to this configuration
On the relationship between radio and computers.

After my last post, about my 50 years of Hamming, in discussion on Facebook, where I also posted the same thing, several people also confessed their experiences with Ham Radio in their past.

I was fortunate to attend a high school that offered some computer courses then. In the late 60’s computers were big machines usually found at universities or the largest of companies.

A teacher at my school was also an instructor in computer study at a local community college. He taught courses there in the evenings. During the day, along with his duties as a math teacher at my high school, he offered to teach some computer courses. Data Processing and Computer Programming were the very simple names for the two courses. One was the requirement for the other.

Data Processing taught the basics of how machines came to be made that could manipulate numbers. We studied Babbage and Hollerith and looms and computing machines. But mostly, we learned how a keypunch machine and card sorter worked.

The only computer equipment available to a high school then was a keypunch machine and it’s cohort, the card sorting machine.

We spent a lot of time learning how they worked. How the holes in the card translated into letters, numbers and special characters. ASCII data. How different parts of the 80 columns were used for different purposes and that the first few columns were used for a sequence number. You could drop or shuffle a deck of the Hollerith cards and use the card sorter to quickly put them back in sequence.

Of course, this was all necessary to know for the second course, Computer Programming, because your programs were punched onto cards which were taken in the evening to the community college where they could be loaded into the big IBM computer there to run. If they worked, you would get your results back later.

This was the same time where my interest in radio became an interest in Ham Radio. Two fellow students in my class happened to be Ham Radio Operators and when they found out they could communicate secretly in class by tapping or quietly whistling Morse Code, all sorts of shenanigans began.

They decided it would be a cool thing if they could form a school radio club and set about to do so. They found a willing sponsor, our chemistry/physics teacher and we were allowed to meet after school in the lab.

The first thing on the new club’s agenda was to have all the members of the club get their licenses. The two who were already licensed set about tutoring the rest of us. Electronic theory and rules and regulations were pretty straightforward. They were taught from the ARRL license manuals. But the Morse Code had only one way to be taught – practice.

Hand-sent code with a practice oscillator was used starting out simply with only a few letters at a time. The letters were memorized unti you could recognize them quickly enough to write them down before you missed hearing the next one.

We all struggled along, but I don’t recall even one of us getting good enough to pass even the 5 WPM test for the Novice license.

We also put a lot of effort into a club station. Some borrowed equipment was obtained and a dipole antenna was installed on the roof. The center was supported by the chimney of the schools boiler. It was well above the roof of the gym, so it was a pretty decent height. I don’t think much was ever done with the station because none of us ever got our licenses and the two who had them, had their own stations at home. A few demonstration contacts, at most, were made. But the club call WB2EET was born.

So that’s why my roots of both Ham Radio and computers are intertwined. I just read an article about Dr. Leonard Kleinrock a pioneer in the creation of the precursor to the internet. It was about the same time as I was in high school, and there it was, another guy whose interest in radio and crystal sets led him to an interest in computing. This is a quote from the article in PC Mag. Lots more in the article.

Let’s get your backstory now. Your first interest was in radio while at the Bronx High School of Science, right?
Ah, no, it was long before that. I was a typical kid on the streets of New York. I loved gadgets, puzzles, games, and comic books. Inside the Superman centerfold, one day, was a set of instructions which explained how to build a thing called a crystal radio.

My Beef with Ham Radio

With acknowlegment to Dan Maloney at Hackaday

At some day this June, which I will have to look up, because I don’t remember the exact date, I will observe my 50th Anniversary of becoming a Ham Radio Operator.

Things were quite different then. I started as a Novice which allowed me to use Morse Code on a few shortwave frequencies. I scraped together enough to buy a used receiver for $50 and a really abused transmitter for $13. Stuck up a wire antenna that despite breaking a few rules for how it should be done, worked anyway. I got on the air and managed to make QSOs (conversations) with other Hams. In Morse Code.

Time passed and I got better at it. Seeing how far I could talk and collecting evidence of having talked to Hams in other states – the coveted QSL cards as proof, I stayed up late in hopes of even further distances – DX and through repetition, got better at the Morse Code. I felt ready for the 13 word-per-minute test that was part of the General Class FCC license.

The test was given in the FCC office in Buffalo, in the Old Post Office building. Last I knew, that building is now used by Erie Community College. A friend also planned on taking the test and we studied the theory questions and he drove us to the exam.

I don’t remember much about the written test, but the code test was no laughing matter. It was given by a real FCC field engineer, who came out and ran a paper tape on a machine that sent the code. Despite being stuck behind a column, I copied more than enough to show the required one minute of solid copy. You don’t need to see, only hear the code.

I was pretty confident about the code, but there was still a sending test back then. I watched as examinee after examinee went up and nervously tapped out the sample text the examiner showed them. When my turn came, I sat down and tried the key. I asked if I could adjust it to my liking. He said yes and I proceeded to adjust the keys spacing and spring tension the way I preferred and sent a series of Vs to test it. I began to send the sample text and got about half way into the second word when he said it was enough, I passed. Apparently anyone who had the moxy to adjust the key, knew what they were doing.

Some time later, my General license arrived in the mail and I was now allowed to do just about anything Hams could do. I could now use voice. I could now run 1000 watts, the famous Kilowatt. Over time, as money allowed, I improved my equipment. A better receiver, a Hammarlund bigger than a breadbox and heavy as the whole refrigerator. A transmitter with a VFO that put out a whole 100 watt signal. No more being stuck on the handful of frequencies that I had crystals for in my Novice days.

I still sought out contacts with new states. I wanted to get the ARRL Worked All States award, a certificate that I’m sure was quite prestigious in part because of elusive states like Delaware and Idaho. But I also discovered traffic nets where hams passed messages on behalf of the public. People could have a telegram-like message relayed by hams anywhere for free, as long as it was non-commercial. It kept Hams trained in case of real communications emergencies and the system that allowed me to send a message on it’s way to Idaho even though I couldn’t seem to talk there directly.

It seemed more satisfying than random conversations. It was already getting boring exchanging the weather, your age, your job and what version of Heathkit/Collins/Yaesu/Hallicrafters radios you were using. Most conversations ended with the other guy getting called for supper, no matter what time of day it was. It was like a code for I’ve run out of things to say.

This went on for years. I discovered contests, where you exchanged short, quick pieces of information in as little time as possible. Each was worth points and it was a race to collect those points. Maybe you’d get a certificate if you did well, but you got to see your score next to your callsign in a magazine. It was easy. No pretense for breaking the conversation off for dinner!

More equipment upgrades and I soon was using voice. I found you ran out of things to say even faster and while you occasionally had a good conversation, mostly they were just as formulaic as on code. I got into some voice nets that facilitated finding the Hams in those rare states for Worked All States. I finally achieved that goal a couple times over. I also got into VHF FM, a voice mode that covered locally using repeaters. Finally, talking to people you actually could get to know and meet face to face.

At some point, they announced some new series of callsigns that were only available by license class. An Extra Class – the highest one available – would get you a short callsign beginning with ‘A.’ As I still preferred CW and during contests, a short callsign could be an asset, I decided to go for it. The theory was pretty tough, but I had learned a lot and brushed up on it so that I could pass the test. The Morse Code portion was at 20 words per minute, which I could do no sweat.

The new style of callsigns began to be issued and we’d hear other Hams on the 2 meter repeaters announcing their new calls. I kept asking them when they took their exam and how long it took to arrive. Pretty soon, I had a good feel for when I should take the test in order to get the ultimate short callsign in the second district – AE2E. I hoped to at least get something close to that. Anything would be an improvement over my six-letter-long general call.

At this time, the code test was now a fill-in-the-blank test where if you copied the sample code, you’d get the answers to the questions. There was no longer a sending test. Also, if you could show your scratch paper with one minute copy, you could pass even if you didn’t get enough of the questions.

The test, now in the new Federal Building, was simple. I now drove myself there, being older and employed and a car owner. I did well enough on the written theory and sat for the 20 WPM code. Solid copy in block letters and easily answering all 10 fill in questions.

I can proudly say that I hold a true FCC examined, 20 WPM passed code Extra Class license. No VE exams, no multiple choice code test. No no-code license. My new license arrived with my new callsign: AE2T, the second shortest possibility.

Since then, I’ve been hot and cold on Ham Radio. I’ve been very active in contesting. I’ve earned DXCC (100 countries confirmed) been very active in something called The Geratol Net, a group that specializes in a specialized form of a worked-all-states award. I’ve done traffic handling at several levels in the system and emergency communications support. But I’ve also gone years without getting on the air. It’s always been there when I had the interest. It just comes and goes.

I’ve dabbled with QRP (Very low power operation) and recently, digital voice communication on VHF/UHF augmented with the internet. I’ve dabbled with HF digital and Packet radio several times. But it still comes up less than fulfilling these days.

I’ve seen the quality of the people who get into Ham Radio decline as the exam requirements to get licensed got easier. The code requirement has been totally eliminated and the Technician exam can be passed by someone who paid attention in high school physics class and had an hour to study a guide. You can’t tell me there is no relation.

And technology – the internet and cellphones being ubiquitous – has made Ham Radio seem quaint and irrelevant. Sure there are new forms of Ham radio that leverage those technologies, but I’ve tried them and they just seem to miss the point.

So, I stumbled upon this article in Hackaday and it really paralleled my thoughts. The author never really got very far into Ham Radio, so he’s probably a lot smarter than I.

I will still piddle around with my radios, but it’s strictly a hobby, an amusement. It certainly doesn’t hold the gravitas that all the Emcomm “When All Else Fails” types like to justify it with.

Hackaday Article

Catching up


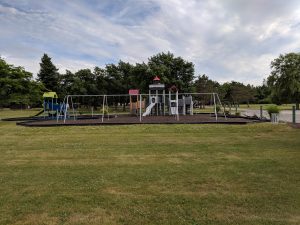
Playground at Golden Hill SP

Playground at Golden Hill SP. I can’t believe I didn’t get a photo of our campsite.

I’m long overdue for posting here. So much so, that it may take several posts to cover everything.

My hopes this summer was to get out and do a lot of camping with the A-Frame trailer, but it didn’t quite go as planned.

I got the trailer out of storage, but in the process, I somehow hurt my back. I can’t put my finger on any one thing that did it. There was no snap or pop, I just got home and was really in pain after a bit. There is nothing rigorous about the little trailer. Putting the roof up isn’t that hard and I’ve done it many times without a problem. The tongue jack is electric, so no problem there. The four leveling jacks, which I use an electric drill to run up or down are also not difficult, but involve bending over. I think the final straw was when I tried to cheat the tongue to the side a bit as I dropped it onto the ball. The flat foot on it doesn’t move easily like the old wheel did.
Continue Reading…

Skip to toolbar